Winter greenhouse
Content:
A greenhouse for the cold season is the goal of most gardeners, this is the best greenhouse condition for planting tomatoes, cucumbers, peppers, strawberries, inflorescences, dill and the like. Making such a greenhouse is an expensive pleasure, in order to make such a greenhouse you need to take into account all the details, such as thermal insulation, moisture, light and much more.
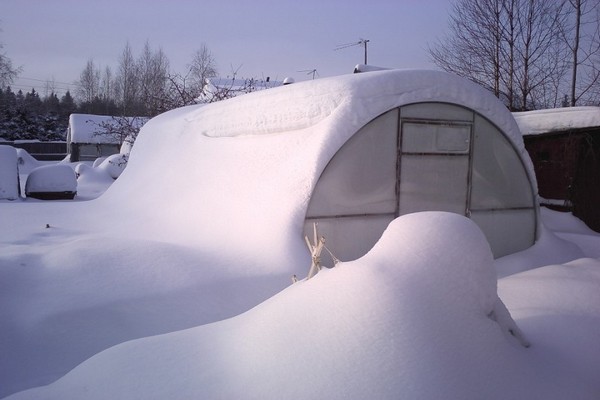
RULES FOR ESTABLISHING WINTER GREENHOUSES
How to cure greenhouses for a cold season from a warm one? Why spend so much savings on making them? in order to know the whole point, you need to analyze all the stages that last in a greenhouse during the cold season.
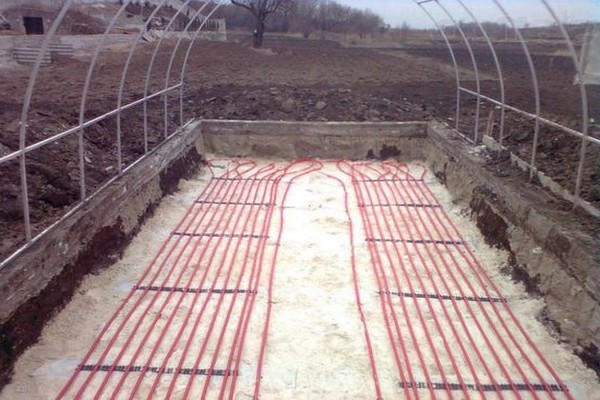
ARTIFICIAL HEATING
In the warm season, the plants in the greenhouse are warmed up by the sunlight. Until the evening, the earth is heated by ultraviolet rays, and at night, on the contrary, they try to keep warm due to this heat. in this way, all vegetation feels good, does not freeze. Also, when it rains, the temperature in the greenhouse is kept normal, since in daylight the earth also warms up.
In the cold season, most of all in the Arctic Circle, there is practically no sun, the day is less than in other regions. The sun barely warms the earth, glides by. At night the earth cools down, in winter it freezes. Therefore, the sun's rays are not enough to keep warm in the greenhouses, then artificial heating is used to help.
In the cold season, many types of heating are used for insulated greenhouses: by means of a fireplace, a battery, a fireplace. The decision depends on the financial condition and the perimeter of the greenhouse. Important: The degree of heat of the heaters in the greenhouse should be sufficient even during the winter frost.
THERMAL INSULATION
In winter, the air in the greenhouse will be warm, with sufficient insulation. Options for avoiding cold air in the greenhouse during winter:
- Make the foundation of the ridge larger;
- Strengthening the facade of the greenhouse;
- The use of thick glasses, or plywood ten or twenty-five centimeters (near the ground);
- Exact check for errors and gaps, their elimination.
A greenhouse with a deep foundation has many advantages for insulation, but it also has its drawbacks:
- To build the foundation so that the heat passes through, it is necessary to make the pits deeper, in the southern regions up to one and a half meters, and in the north up to two meters. additional costs are required to dig a large hole in the ground.
- It is contraindicated to place winter greenhouses in gardens with gravitational groundwater, if this cannot be avoided, drainpipes must be installed.
- When creating the facade of a winter greenhouse, you need to make a good, strong foundation from durable material.
Observing all these rules, you need to spend a good amount to build such a greenhouse yourself.
In order to keep warm in the greenhouse, the sides of the facade are built from gypsum blocks or wood. To make the greenhouse warm, use Penoplex material - legs attached to the walls, does not rot when damp. When transferring heat to the earth, a transition is built with a size of fifty centimeters.
Greenhouse cladding is very important for crop growth and soil fertility. Facade windows should be large, and also not to lower the temperature of the heat in the greenhouse. The thickness of the window lenses must be strong from five millimeters.
If thermoplastics are used, they must be positioned correctly. So that it is not so hot in the greenhouse, these thermoplastics are installed, they control everything.The strength of this material is from ten to twenty-five millimeters, one plate is enough. If you use thermoplates ranging in size from four to six millimeters, then you need to make several layers.
Important! A transparent canvas is used in warm cities, where there is no large snowfall, in which case, it does not withstand the load and breaks.
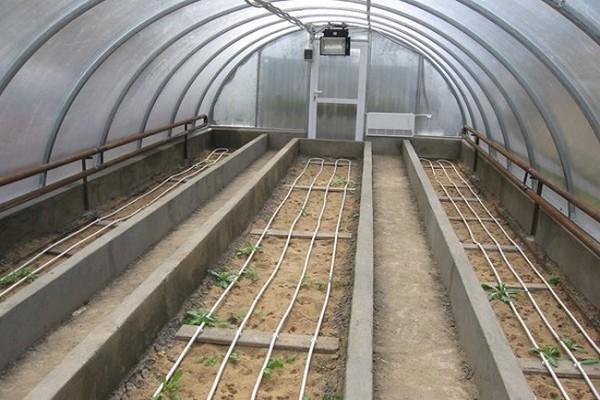
WAYS OF BEDROOM HYDRATION IN A GREENHOUSE
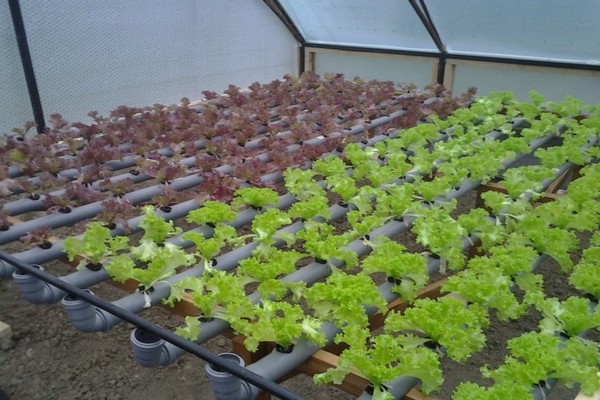
Moistening is necessary so that there is a good harvest, and the fertility of the land does not slow down. The amount of water for irrigation depends on the size of the greenhouse, so the first thing to be installed after the base of the greenhouse is the water boiler and how the water will flow into the soil.
You can also put pipes for the water supply, or put a hose for a well, you need to dig passages for pipes to a depth of a meter for warm cities, and for cold ones from two meters. In huge agronomic greenhouses for a large harvest, titans and large boilers are installed right in the greenhouses near the ridges.
To store a large amount of water, a boiler is placed in the size of a quarter to one square meter. In order to put the boiler, a bar or other surface is placed underneath, thus the temperature and humidity in the pipes and the boiler with water are normalized. The ideal solution for installing the boiler would be in the north of the greenhouse, for a lot of light on the vegetation. The water in the cola is heated with the help of the sun; heating is installed at cold temperatures.
Important! A boiler filled with water - perfectly heats the air in the greenhouse at night. Thus, the temperature in the greenhouse does not go astray, but stands at a moderate degree.
EXHAUST SYSTEM
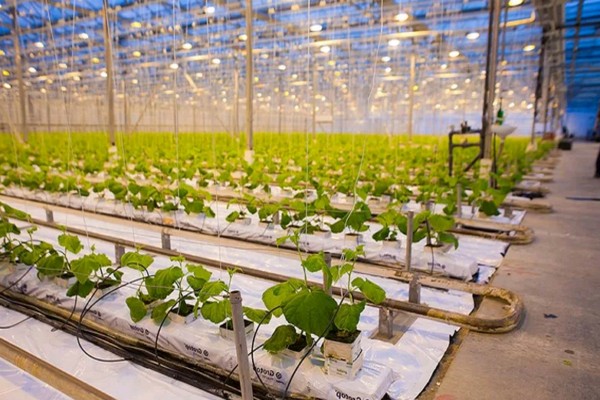
The most important thing for a large harvest is the ventilation system. With the help of the hood from the greenhouse, all harmful substances are eroded, the greenhouse takes in fresh air, giving carbon dioxide in return.
In most cases, when building greenhouses, openings are made that open, put them on the ceiling or on top of the walls of the greenhouse. For better ventilation, it is recommended to make windows on the ceiling, so there will be more sunny days in the greenhouse and the ventilation system will be better. They can be opened and closed by hand or automatically.
LIGHT
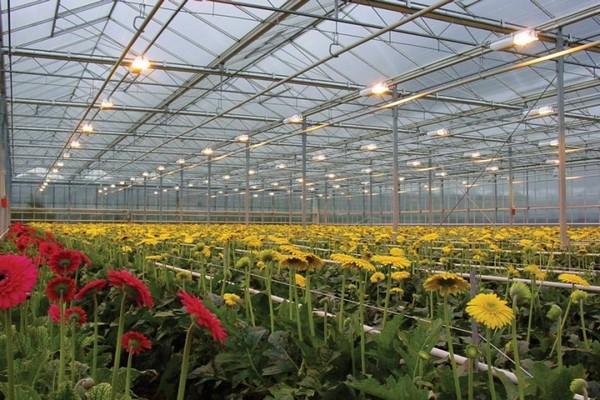
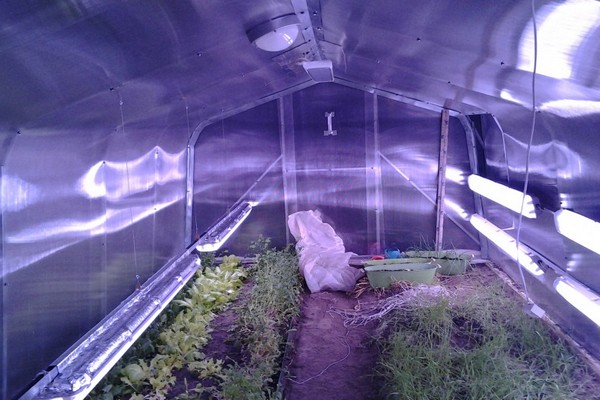
There is enough light in warm and light seasons for a large amount of vegetation. In winter, additional light is needed for crops. Thus, additional lighting and heat lamps are installed.
The installation of lighting lamps depends on the amount of vegetation in the greenhouse. You can also find out the approximate number of lamps, it is important to know the parameters of the greenhouse, one hundred watts is enough for one square meter. Consider, using the example of a greenhouse measuring twenty square meters, it needs two thousand watt or five powerful lamps of four hundred watt each, as well as their arrangement.
Important! Lamps heat up quickly and well enough, so they must be installed in special reflective glass boxes on the ceiling.
INSTALLATION OF WINTER PRANIK YOURSELF AT HOME
Large greenhouses of more than one hundred square meters in size, intended for planting flowers, fruits and other crops, are best made to order in agencies. Agencies that are engaged in the manufacture of greenhouses offer ready-made options, which include hood, humidification, artificial types of heating. Greenhouses produced according to this type of project come out more profitable, and automatic maintenance is also done in them.
You can build a medium-sized greenhouse for your garden with your own hands. To start building the facade, you must take into account all the features:
- Find a plot in the garden for the installation of the structure, calculate all dimensions, what type of greenhouse.
- Make sketches with all the parameters such as ridges, insulation construction, soil moistening and extractor hood.
- Make all the calculations for the required raw materials.
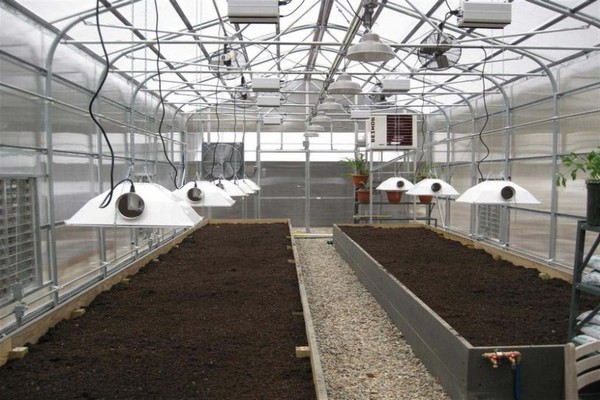
The insulated greenhouse is placed in a sunny place, it is important that the place is calm. The greenhouse can be placed in the yard closer to the sunny side, also to sheds and the like.A greenhouse built in an open garden is placed from north to south. the wall is insulated from the north.
The usual frame in which heat is kept is a greenhouse with a coal roof with insulated sides of the facade. The part from the south is insulated with thermoplastics in a couple of sheets. The dressing room from the northern part of the greenhouse is necessary to protect against strong winds, you can also equip a boiler there, arrange tools, boxes, shelves. The roof is sealed with a special material such as thermoplastic. You also need to check all errors so that there are no gaps and gaps.
Important! The production time for such a greenhouse is approximately forty-five or sixty days. It takes a month to build a base. In this case, it should always be warm, no freezing temperatures from fifteen to twenty-three.
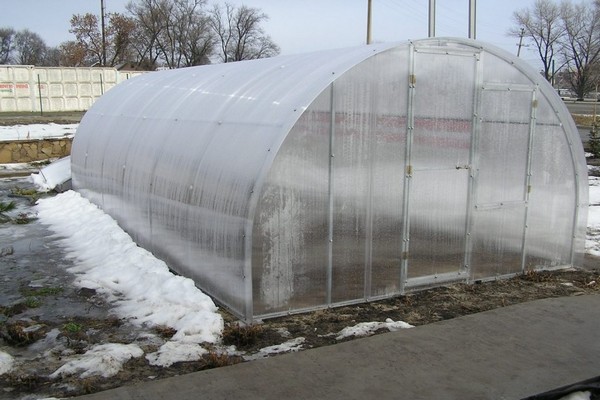
BASIS OF CONSTRUCTION
For the structure, you need to create a solid foundation. The ideal solution is a thin and shallow base of their soil or sand. The base should extend over the entire area of the greenhouse.
Plan:
- Garden tillage, calculation of all sizes. Removing all weeds, trash, plowing the land. Then they put marks on how the greenhouse structure should be installed.
- Establishing base marks. For manufacturing, they put boards, pipes in all corners of the frame. Next, you can tie a rope and draw the whole base around, thus checking all the lines, angles, so that there are no errors, the same rope bifurcates the base into the ends, into the front and inner parts.
- Soil selection and addition of crushed stone. The ditch is made according to the dimensions obtained to the depth of fifty centimeters. The first layer in the ditch is mixing the pile with pebbles, gravel or just sand, it is necessary to moisten the soil, thus it compresses.
- Installation of a structure for the foundation. The material for the foundation frame is an edged board from twenty-five millimeters. With strong, tamped earth, the frame is installed over the tier of the soil, if the ground is loose, then the frame is installed in a ditch.
- Increase in the supporting structure. The base must be done with an increase in size, otherwise it may collapse. For longitudinal reinforcement, reinforced concrete of the company 1O - A - lll [A4OO] GOCT 5781 - 82 is used, for slopes - 6 - A - l [A240] GOCT 5781 - 82. The connection of reinforced concrete pipes is wound with a singed wire. It is important that all angles are enlarged.
- Sealing with gravel. It is not so easy to dissolve the concrete yourself, it will take enough time, and if the base is poured in layers, then the structure will not be so strong. Experts advise using quality materials for the base of the greenhouse frame. The mixture is poured into the ditch, pierced with a rod, and the surface is smoothed.
- Formation of the base of the frame. The most important thing for strengthening the foundation is warm weather, this will dry the foundation faster. The ideal temperature is from eighteen or twenty-two degrees, so the foundation will get stronger and stronger in two or three weeks. If the weather is cooler, then the concrete will dry in a month. For better moisture, the foundation is covered with a canvas that allows light to pass through. If the surface of the foundation is too dry, then it is sprayed with water.
Important! The frame for the foundation is disassembled in a week, it can also be used in the arrangement several times.
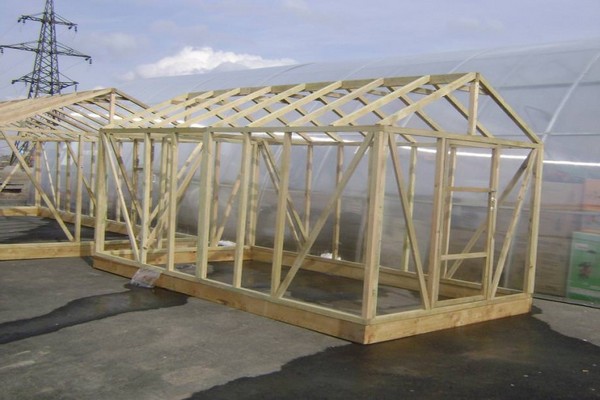
GREENHOUSE FRAME SIDES
For the construction of walls, glue is used for the material in the form of concrete cells. Such glue does not leave gaps, errors, is applied with a minimum thin layer. Also in construction, you can use soluble crushed stone, but you will have to add any materials for insulation, as well as putty.
Sequence of work:
- Protection of building structures from water penetration. For this, a special material is applied in a roll form, for example, ruberoid. A layer of a special agent made of cement is spread on the finished concrete base. Then a roll of roofing material is spread with an addition along the edges, all is smoothed with bars or special tools.
- Installation of the first layer of the structure.On top of the protective layer of moisture of the structure, covered with a special agent, concrete cells are placed, the simple name is cubes. The mixture is smeared with a thick layer, cubes are placed and some errors are removed.
- Installation of the remaining layers. The rest of the layers are made with building glue. It is applied by loosening on absolutely all connecting parts. To avoid gaps, the cubes are tightly nailed to each other using the blunt side of a hatchet or a rubber mallet. Cubes are installed with a perch on the floor of the cube.
- Increase in the supporting structure. After two or three rows, an iron grating is placed, this increases the size of the stacking of blocks. If the size of the cube is thirty centimeters, and the wall is one hundred and fifty centimeters, then there will be five layers, thus the lattice is placed between the third row. To make the cube stand firmly and firmly on the grate, use an adhesive solution, applying it over the grate. You can also increase the installation with reinforced concrete pipes, which lie in special formwork cubes.
- Greenhouse entrance. It is also important to make the door correctly and in size; for this, the blocks are measured and cut according to the required parameters. The tools used in cutting cubes are a hacksaw, a saw.
- Insulation of the facade. The sides of the greenhouse are sealed with thermoplastic from the front side in layers. The number of layers depends on the weather on the ground, also on the layer of material from thirty to one hundred and fifty millimeters. In the southern regions from thirty to forty millimeters, and in the northern regions from eighty to one hundred millimeters layer.
- Facade cladding. The sides of the greenhouse are processed with different materials, siding, brick, wood. In addition to its beautiful appearance, the cladding serves as a good protection from the wind and keeps the warmth in the greenhouse.
Important! In addition to thermoplastics, other similar materials can be used. It is forbidden to seal the frame with cotton wool and other soft cloths, as there will be a lot of moisture in the greenhouse.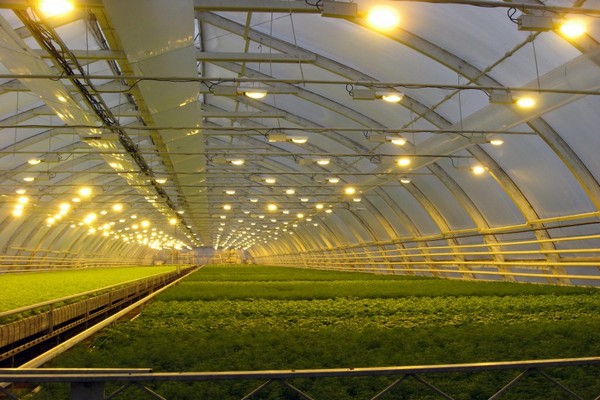
GREENHOUSE ROOF
For the entire pitched roof system, a material is used - wood, forty by one hundred millimeters in size. The slope is made with an exit of fifty or seventy centimeters, especially important for the northern regions.
Sequence of work:
- South side. A board is placed on the base of the greenhouse on top of a protective layer from moisture; dense nails or screws are used for connection. The boards are attached to the side of the blocks using screws. Also, the boards for the walls are attached to the lower strapping using screws or nails.
- Final strengthening. The area of the entire frame is strengthened from above with a board using screws in the interval of sixty centimeters. Also, to strengthen the entire wall, it is necessary to distribute all the weight, otherwise the blocks will begin to crumble.
- To establish a pitched system, it is necessary to install a building ridge. When installing it, they initially make racks in the middle, securing them with screws, then obliquely fasten the beams on both sides. The ridge is made from a pair of humpbacks measuring forty by one hundred millimeters, fixing them on both sides.
- Pitched system. Material - wood measuring forty by one hundred millimeters. For the exact mark of the cut, the boards are measured, sawed, checked for errors, if something has come out, they are removed. The sides of the roof are connected on both sides with iron fasteners.
- Roof cladding with thermoplastics ranging in size from ten to twenty-five millimeters. They are installed on the sheet, this is enough for warmth. The first thing to be covered is the south wall. The thermoplastic sheet is measured so that the lines are vertical. Uneven cuts of thermoplastic are treated with electrical tape. Attach thermoplastics with screws. In the same way, the sides of the greenhouse and the walls at the entrance are pasted over.
- Roof cladding with thermoplastics. First of all, all sides of thermoplastics are pasted over with electrical tape. The rafters are attached with a ridge.
Important! At the end of the construction, you need to check the entire structure for cracks, errors, if any, must be eliminated.
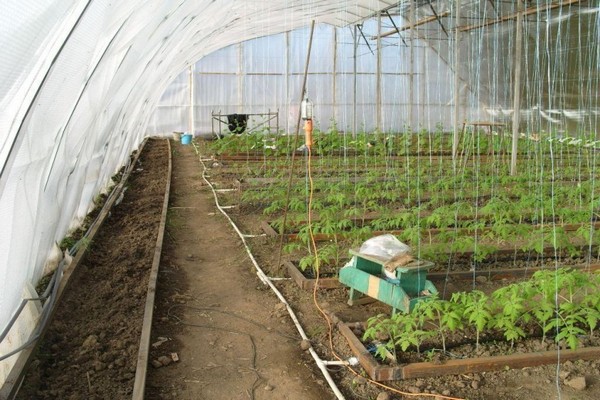
FINAL GREENHOUSE FACING
For example, the greenhouse has two exits, the entrance to the dressing room, adjacent to the greenhouse. The entrance must be insulated so that it does not let the wind through and keeps it warm. The adjacent greenhouse can be glass. The structure itself is supported by fasteners measuring ten centimeters or more.
Equip the greenhouse with heating. The capacity is placed in the dressing room, the pipes are led out into the street along the perimeter of the walls. A humidification system is installed, rubber pipes are carried along the ground to the vegetation.
The lighting is installed under the ceiling with reflectors, which increases the yield. The wires are pulled through plastic tunnels.
Ridges, walls with shelves are being built, and the entire heating system of the earth is being installed in European cities of Russia. In the south, the sun warms the earth, for this the walls of the greenhouse are sheathed with foil material, from which the earth receives more light one and a half times.
Such greenhouses grow many crops, fruits, berries, flowers, vegetables and the like. The use of such greenhouses for cultivation for commercial purposes is encouraged.

