Diy high beds: step by step we make beds of boards in the country
Content:
Usually enough hours and hands are needed to clear the soil, due to the weather, vegetables can be obtained slightly less than expected. Thus, in order to get a big harvest every season, many agronomists, gardeners or those who simply love fresh vegetables make high ridges in their gardens. For the construction of elevated ridges, we only need working hands, everyone can do this, no individual skills or any technique are required.
Pros of elevated ridges
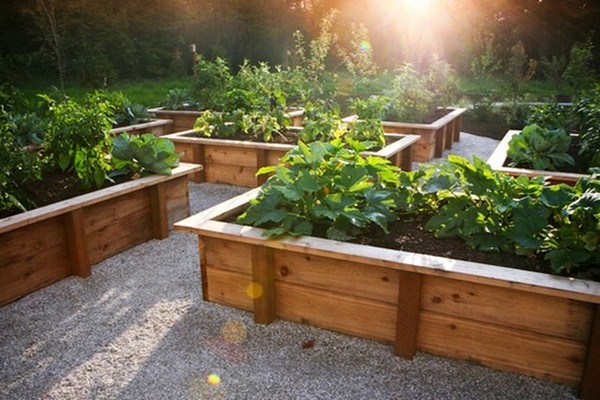
Similar to the usual ridges that are found in all gardeners, elevated ridges are one step ahead in superiority:
- The land of the plot is divided into small parts for cultivation, even those on which nothing grows;
- Plowing and hilling the land is not so important, you can just walk with a hoe;
- In a narrowed area, all unnecessary grass is easily cut off;
- No effort is needed to assemble and disassemble the sublime ridge;
- With any precipitation on the street, you can move around the ridges if you build a path, for example, from pebbles or old bricks;
- It is very important for cities with harsh climates that the harvest is in the shortest possible time;
- When making an elevated ridge, more humus and minerals are put there;
- At sub-zero temperatures, in order to save frozen plants, they are covered with a cloth, such as burlap, body cloth.
I must say that high ridges are also suitable for landscape design, they can be installed right in the yard.
Raw materials for the fence
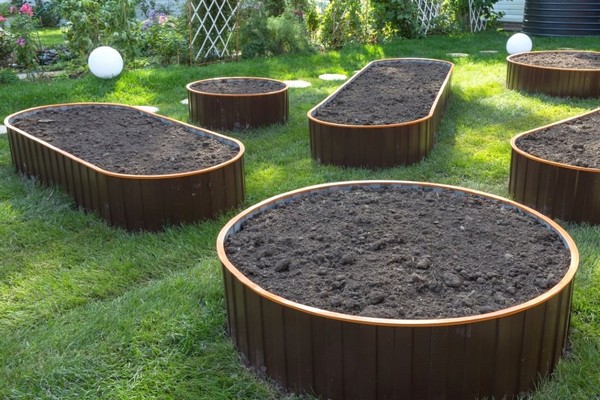
The basis of any bulk ridge has its own measurements, part of the inside is covered with soil, humus and other minerals. Today, most gardeners make the base of the ridge in the form of an elongated square; a slab, roof materials, twigs, artificial materials and others are used to connect it.
Wood is open to access, easy to assemble and naturally pure raw material. In the installation of ridges, they use croaker, stumps, chocks, beams. Cons: the tree needs to be seriously processed, over time it loses its color, its beauty, it does not last long in use.
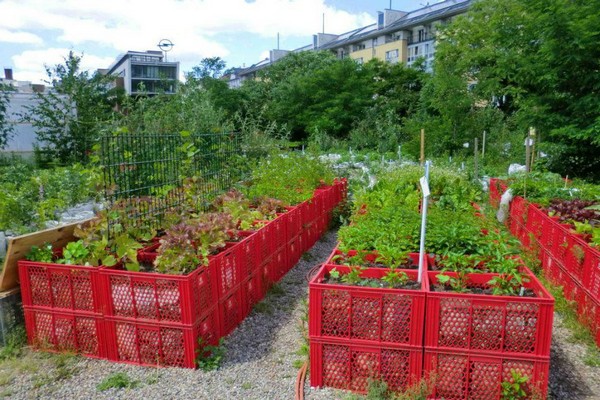
Twigs, wires - cheap and unusual. The ridge can look beautiful in any form, round, square or any other, as the material bends. The walls are woven, although for this you need to be able to weave, it is short-lived in use.
Slabs, pebbles, concrete briquettes - this is a versatile person, suitable for all areas. Strong raw materials, will last a long time, adds some design in the yard. Cons: Expensive, will take more hours to build than conventional frames.
Artificial material, plastic - not expensive, a good substitute for wood. Easily assembled and disassembled. A win-win option in strength, looks presentable, lasts a long time in use. Cons: like an artificial material, there are destructive materials in the composition that are not suitable for growing. Pure, safe raw materials, and all documents related to the purchase of plastic must be presented when purchasing.
Iron is comfortable for gardeners, it serves for a long time in use, the best option for different types of ridges, it is also convenient to change the location of the garden.From the street side, it looks neatly beautiful, you can make it your own way, for example, in color or come up with some kind of design. Cons: to install such a ridge you will need an iron welding specialist, this procedure is expensive for a simple gardener. To avoid mold and fungal viruses, you need to constantly treat the ridge with special means.
Cement, crushed stone is a good option if the ridges look like a pyramid or the site is on a slope. The sides of the ridges are made inseparable, they are also constructed in different separate cubes. As the material is strong, it will last a long time in use, smooth surface. You can add some design for decoration. Cons: long installation time, expensive raw materials.
Decorating ridges with roof materials is a cheap and uncomplicated solution. It will take a little time to make a fence, the raw materials are durable, the design of the material can be varied, for example, it can be made in color. The main disadvantage is the fragility of the raw materials, so during installation you need to handle it carefully.
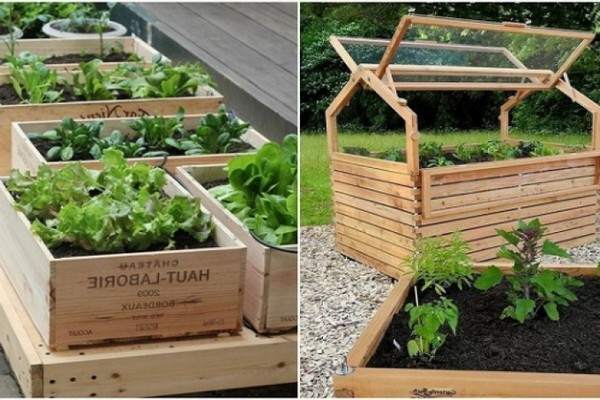
Ideal measurements for elevated ridges
Any agronomist prefers the measurements and appearance of the high ridge for his convenience. There are also ideal bed sizes:
- Height from the soil from sixteen to fifty centimeters;
- Latitude from ninety to one hundred and twenty centimeters.
With a height of sixteen to twenty centimeters, the ridges will be filled with soil in fertilizers mixed with cultivated soil. This is done for a large harvest. Provided that the land in the garden is not suitable for growing, then the ridge is raised to thirty centimeters. Ridges with humus are raised up to fifty centimeters. In most cases, the sides of the ridges are raised higher, this is done for the convenience of the gardener, so that it is easy to bend over to the ridge, but there is also a minus, everything will take more time and raw materials than usual. Also, if the base is too large, then this will also be a minus, since it is uncomfortable to bend over and weed ridges.
The ideal option for a ridge in latitude requires a good capacity, for example, for three rows of seedlings. With this arrangement, all vegetable seedlings will receive fresh air, a lot of light, this will very well affect their growth. As it turned out, on the ridges in the middle of the plant, they do not receive much lighting and air there, as we would like, because of the shade, the shoots die and the yield decreases. It is much easier to clean up medium-sized ridge mails than over-sized ones.
Only the measurements of the garden are important, since the shape of the ridges is not so significant, whatever it is, rectangular, round. To date, the actual size of the ridge is considered to be from one and a half to three meters; comfortable, beautiful and impressive on the site.
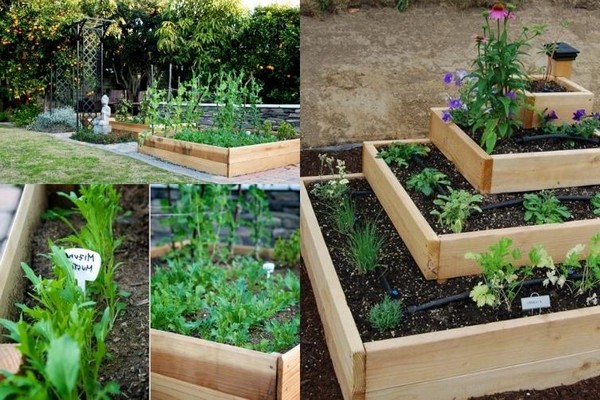
High Ridge Execution Plan
For the sample, a ridge with a wood frame is presented; such a solution is more comfortable and cheaper.
In this process, it is necessary:
- Landing shovel;
- Measuring tape;
- Pneumatic and electric tools such as a drill;
- General building tier;
- Jigsaws, circular;
- Fasteners;
- Croaker 60 * 205 mm;
- Log 60 * 60 mm;
- Concrete;
- General construction lattice.
Timber cleaning
The croaker is made according to the standards of the base, then all the walls are treated with a special tool. To do this, they recommend a special oil from harmful bacteria or fungal viruses, then it is necessary to wrap the walls with cling film. The main thing is to better process boardsthat lie on the ground. Then the log is sawn into pieces of fifty centimeters and also treated with a special solution. Then spread in a dry place to dry.
Plowing the land
For the ridge, the earth needs to be under sunlight and warm up from five hours a day. Separate the edges of the ridge, clean it of debris, weed the earth from unnecessary roots and for a quick passage of water into the roots. You can also combine the land with the overgrown grass, so you get humus, which will serve as fertilizer for plants.If the ground is solid, submerged, you need to go with a hoe from above, place all the marks, so it will be easier to install the base of the ridge fence.
Connection of parts of the fence for the ridge
In order to start, you need to dry the wood. Then the slab is folded in pairs into one piece using a rail. The top of the base walls is reinforced with end strips in the middle. Since the size of the slats is larger than the walls at the top, it is necessary so that they cover the base itself by ten centimeters. This is the support of the base of the ridge fence. To improve the frame, a slab is nailed along the length of the structure, the edge of which is removed when trimming forty-five degrees. Also, for beauty, the design can be made in color.
Compressor of the frame itself
The completed structure is installed on the site where it was planned to separate the ridges; they put the frame according to the marks, dig holes for support, compare where the ridge is with a general construction device. For balance, stones, bars are applied, or the excess length is removed so that everything stands evenly. The frame should stand straight, all supports in their pits. Finally, fill the ridge with earth along the length of the frame to such an extent that there are no gaps.
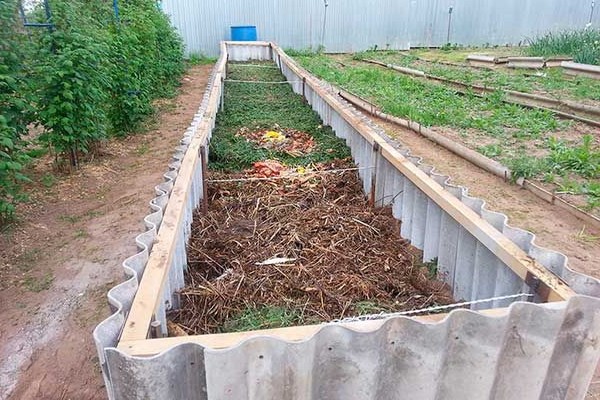
Filling the ridge with earth
First, the inner surface is covered with a general construction grill and nailed to each corner of the structure. The trellis will save the crop from animals. Next, a non-woven fabric is placed, which does not allow unnecessary roots to germinate. Then the filling of the ridge is done according to the thickness:
- Medium twigs, wood;
- Humus;
- Useful material;
- Soil, soil.
Each layer should be ten centimeters in size. There is no need to shuffle them, but it is desirable to align and compress them. If the land in the garden looks bad, then you need to buy land in specialized stores. As the row is filled, it is necessary to water and wait two days. Over the course of a day, the layers will fall and become denser. Above, you need to cover the structure with a dark canvas, with the help of this the earth will warm up and will not allow the roots to germinate.
The most time for the manufacture of ridges is suitable in the second half of the year, during which time the layers will shrink, sweat, and the earth gave more humus to the plants. If the ridges are made in the first half of the year, then they need to be filled thirty days before growing, and watered more often to compact the soil. This frame can be easily converted into a greenhouse: to make it look like a greenhouse, you need to put iron bends, they are attached to the sides of the structure with fasteners. Next, plastic is glued to the bends, or a film or any other canvas that allows moisture and light to pass through.
Making ridges from tiles
For the manufacture of high ridges, different materials are used for the roof, such as slate, shingles and the like. Anyone can make such ridges.
The device requires:
- Materials for the roof of houses;
- Sanded machine;
- Landing shovel;
- Chalk, pencil;
- Construction measuring tape;
- Ruler;
- Elastic hatchet;
- Pneumatic and electric tools such as a drill;
- Bars.
Measurement
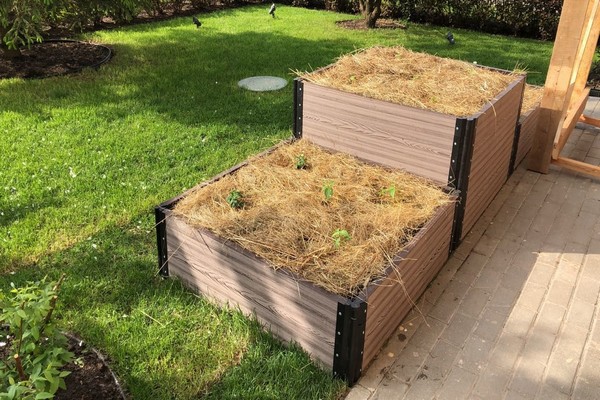
In the garden, they put marks in the ground for the convenience of future design. On all sides, holes are made for the pegs. If the land looks satisfactory, then the fertilized part of the land is removed and left to make another ridge.
The first step is to measure the material of the roofs (slate) for the sides of the ridge, making marks. Next, they are detached into pieces using a grinding machine along the lines. The bars are processed with a special tool so that the walls do not fall, thin iron pipes are placed, everything is processed with antibacterial agents.
Compressor designs
The walls of the ridge are placed in the ground according to the marked marks. Then the second part is installed on the other, an elastic hatchet helps for this, aligns the sides. In order for everything to be correct and perfect, it is necessary to check all corners with a construction square. In order for the frame to stand exactly, all sides are checked, if there is an error somewhere, a bar is selected, or the excess is cut off.So that the sides of the frame do not fall, they are propped up with iron pipes or something else, which are inserted into the ground fifty centimeters. When collecting the entire structure, the ridge is filled up, after which everything is again examined for errors. In conclusion, everyone tramples that they do not need to be left for other ridges.
Trench filling
Ancient pieces of paper, press, rolls and the like are put in the first layer. Then you can sprinkle sawdust, old rotten wood. Next come fertilizers, minerals, humus. In conclusion, they are filled with earth, watered, leaving for two days. Then you can move on to the growing stage.
Taking care of the ridges
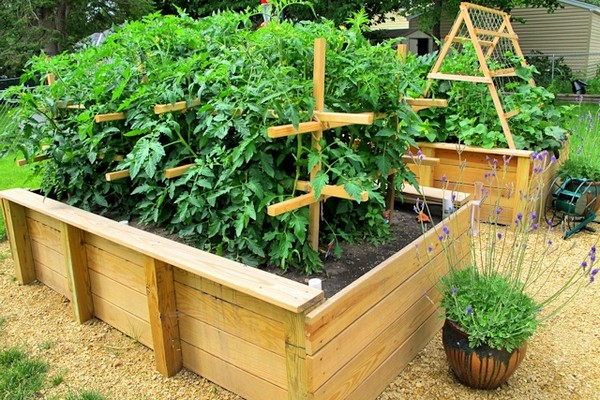
At the first inflorescences, it is necessary to moisten and weed the ground, the first woodlice must be removed moments. At the first harvest, the soil is weeded and then plants are planted to improve the structure of the earth for subsequent sowing. Before the first frosts, the ridge with already cut and scattered green manure is covered with soil, then covered with a dark cloth for the cold season. You also need to monitor the state of the structure, correct any errors.
The land between the ridges is divided into parts using pebbles, stones, branches. In this case, the site will be in a favorable state, the roots of other plants will not come out, and the shoes will remain clean when walking in the garden. You can also make paths from pebbles, stones, bricks.

