How to grow an apple tree from a seed.
Content:
Amateur gardeners have long been practiced in growing a variety of fruits from seeds: oranges, lemons, kiwi, avocados, pomegranates. Apples are much more popular than many of them and, moreover, are adapted to our latitudes, so that the grown seedling may well be transplanted to a summer cottage in the future. According to experts, the apple tree, which was grown from the seed, has excellent immunity and resistance to cold, lives and bears fruit for a very long time. The only drawback of such an experiment is that you cannot predict which apples will eventually appear on your tree. An apple tree grown from a seed does not retain the varietal characteristics of the parent plant, so you can get both tasty and juicy fruits, and small sour, almost inedible apples. The apple tree begins to bear fruit no earlier than five years later, it all depends on the variety - sometimes gardeners wait fifteen years for the first harvest. So the choice is yours - to wait for the results of the experiment, in the hope of developing a new tasty variety, or to use a one-year-old seedling as a rootstock, grafting some other variety on it. But first you need to familiarize yourself with the rules that must be followed in order to grow an apple tree using seeds - we will talk about this in this article.
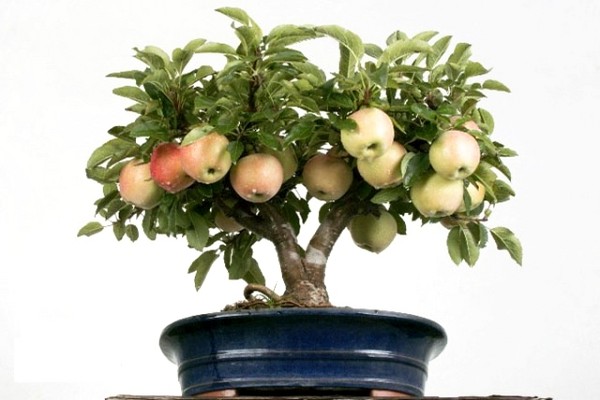
How to choose seeds.
Any botanical experiment always begins with the selection and preparation of planting material. Regardless of what you do with the tree further (use it as a stock or grow it as an independent variety), you need to start with the seeds. If for the experiment you are going to pick an apple on your own, then choose fruits that grow not in the depths of the crown, but closer to the edge, they were one of the first fertilized and received more sunlight, which means they will give the highest quality planting material. If for the experiment you use a store-bought apple, then you will work with what you have and hope for a good result. In any case, the seeds should be brown, firm and undamaged.
How to prepare seeds for planting.
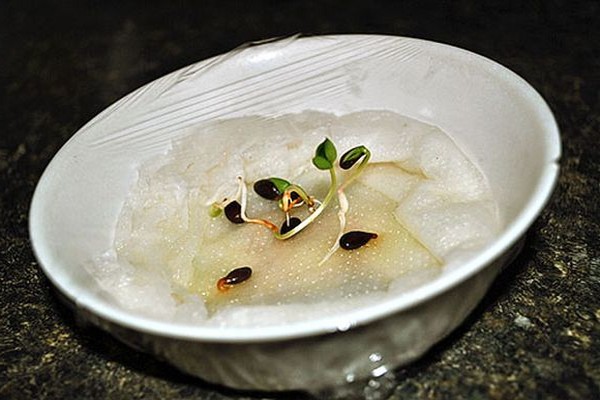
From the moment you remove the seeds from the apple and until the moment of planting, more than one or two days will pass. The process of preparing the planting material is quite lengthy and includes washing, soaking and stratification. None of these steps can be skipped, so please be patient and take action.
Washing. You will need fresh seeds taken from the apple just today or yesterday, this increases the chances of a good result. Rinse the seeds with running water, rinsing off any inhibitor that may inhibit their germination. It is better to use warm water, the washing time is 3-5 minutes.
Soak. Then put the seeds in a container of warm water and soak for three days, while washing them and changing the water every day. For the container, you do not need to choose a specially warm or cold place, room temperature will be enough, it is only important to change the water and make sure that the bones do not start to grow moldy. On the third day, after you change the water again, add a growth stimulant to it. It can be "Epin", "Sodium humate", Biohumus, or a home-made preparation from aloe juice, the next day you noticed that the bones begin to swell.
Stratification. This process helps to increase the chances of apple seed germination, as it successfully mimics the natural conditions when the seeds wake up after hibernation.There are different ways to stratify, the choice, again, is yours.
Always use more seeds, as not all of them will eventually germinate.
Mix seeds with sand and peat in a ratio of 1: 1.5: 1.5 (for example, for a teaspoon of seeds, one and a half teaspoons of sand and peat). Instead of peat and sand, you can use sawdust with peat or sand with sawdust with the addition of crushed activated carbon. Moisten the mixture a little until it is completely saturated and leave for 5-7 days so that the bones swell well. After that, the mixture must be refrigerated for a couple of months in the vegetable compartment, remembering to periodically check that the process is going well, the mixture has not dried out, and mold has not appeared on the bones.
In addition, there is another, simpler method used by the novice of the Valaam Monastery. They picked apples in the autumn, during the harvest season, took out seeds from them, dried them and then immediately planted them in the ground at a short distance from each other, deepening by 2-3 cm.After a while, winter came, and the seeds were stratified into natural environment. And in the spring, the apple trees sprouted, then they were planted and continued to look after.
We plant an apple tree.
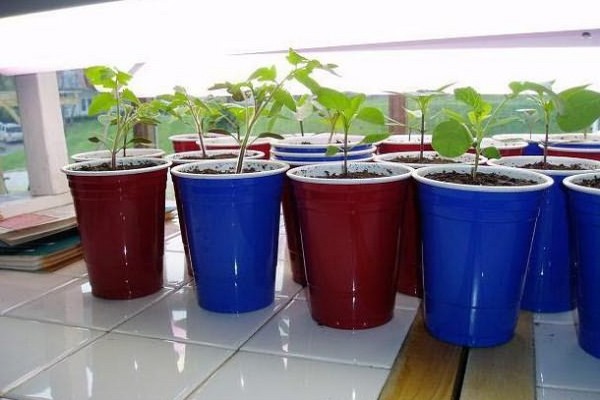
The main difference between growing an apple tree and growing seedlings of garden crops is that it is recommended to use soil from the garden for the apple tree, from the place where you plan to plant the tree in the future, so the adaptation process will be much easier. It will be necessary to add fertilizers to the soil, using 15 g of superphosphate, 100 g of wood ash and 10 g of potassium fertilizer (for example, potassium sulfate) for every five kilograms. Pour expanded clay into a box with drainage holes, and then the prepared soil, and then evenly distribute the hatched bones, deepening them by no more than 1.5 cm, and water them. Put the box on the lightest windowsill and do not forget about regular watering, the soil should not dry out.
Features of caring for a young plant.
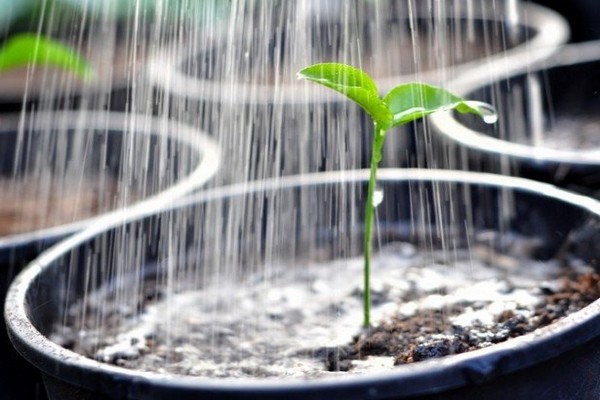
After the sprouts appear on the surface, you can:
- transplant them into larger pots and continue growing indoors.
- if the weather permits, then transplant to a garden bed at a distance of 25 cm between the shoots and the same amount between the rows.
- plant in a permanent place if the seedlings are strong and strong and you do not doubt their viability.
From the moment the seeds germinate, it is advised to transplant the apple tree three times in the first four years. The first time this happens is when you move seedlings from a common box to a personal pot, this transplant stimulates the growth of the central taproot. A second transplant will be required when the apple tree is one year old. Move the seedling into a larger container while trimming or bending the center root 90 degrees. And the third time the tree is transplanted to a permanent place where it will grow all its life. These three transplants accelerate the onset of fruiting.
After the appearance of four true leaves, you can sort and remove the wild. The difference between wild apple trees and varietal ones at the sprout stage is that they have shorter shoots, smaller and brighter leaves, and small thin thorns can be found on the trunk. Cultivated apple trees do not have thorns, the leaves are darker in color, larger in size, and the trunk is thicker.
Transfer to a permanent place and further care.
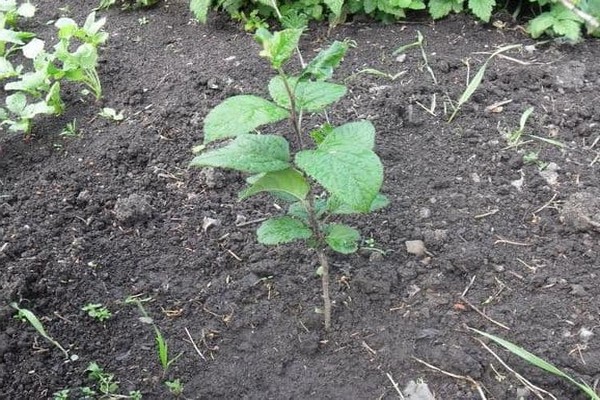
If you grew seedlings in containers, then it is recommended to plant them in a permanent place in April-May or September-October, it all depends on the climatic features of your area. If the seedlings were grown in the open field, then transplantation to a permanent place can be carried out at any time from April to October. When choosing a place for an apple tree, remember that this tree loves the sun very much, do not plant it next to a fence, buildings and other trees, so that all this does not create a shadow.Make sure the water table is deep enough and the soil at the planting site is not too acidic. Prepare the planting hole in advance, apply fertilizers (humus, ash and a complex of minerals), mixing them with the soil, moisten well. In the early years, it is better not to use manure and chicken droppings for fertilizing the apple tree, since the roots of the tree are still too tender and can get burned from such fertilizers.
After planting, the apple tree should be watered once a week and at the same time loosened the soil so that a crust does not form on its surface, which impedes the access of air to the roots.
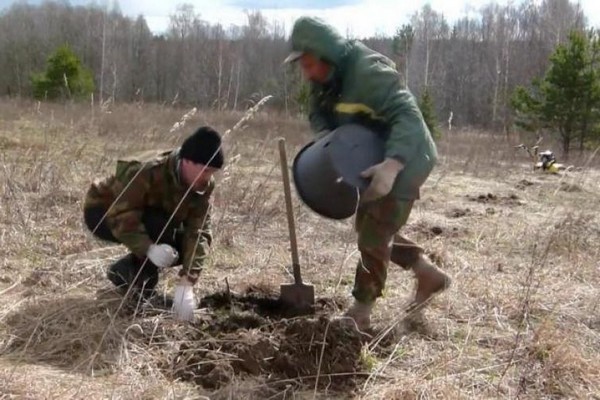
In the first year after planting, you can skip feeding, the apple tree will have enough of those fertilizers that you added during planting. In subsequent years, you can use both organic and mineral fertilizers. It is extremely important not to apply nitrogen fertilization starting in August, so as not to provoke the growth of young shoots. During this period, the apple tree is much more needed potassium and phosphorus fertilizers (for example, potassium chloride and superphosphate).
If you plan to make a stock out of the plant, it is best to do this when the seedling is two years old. In October, dig out a seedling, remove the leaves and cut off the central root, stepping back twenty centimeters from the root collar. Cover the root system and store the seedling in a cool basement until spring, and in the spring plant an apple tree and inoculate. After that, water the plants weekly, make sure that the soil is soaked to a depth of at least 50-60 cm.
Columnar apple tree.
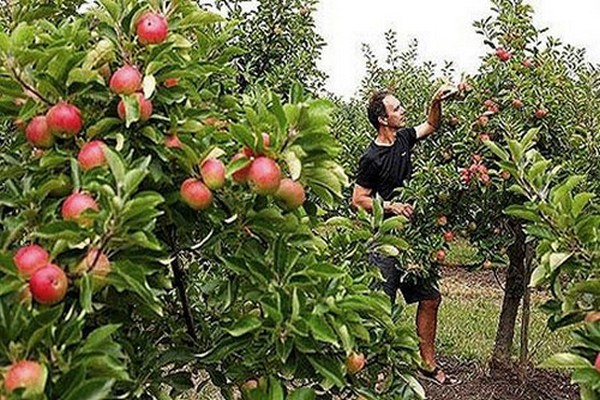
The process itself cultivation the columnar apple tree is no different from what was described above. The only difference is that the seeds will need to be taken from apples that have grown on a columnar apple and will be optimal if the variety is well adapted for growing in the climatic conditions of your area. Then proceed according to the already known scheme: soak and stratify the seeds, then plant and grow.
The most popular varieties of columnar apple trees are President, Medok, Ostankino, Moscow Necklace, Vasyugan. Unlike ordinary apple trees, which are recommended to be used as a rootstock, a columnar apple tree grown from a stone is advised to be used as a scion. To do this, it is grafted onto a dwarf stock.
Summarizing.
Summing up all of the above, it is safe to say that it is quite possible to grow an apple tree from a bone. As a result, you will get not only a strong tree with high frost resistance and strong immunity, but also a new variety of tasty, large and juicy apples.

