Pumpkin in a barrel. Growing
Content:
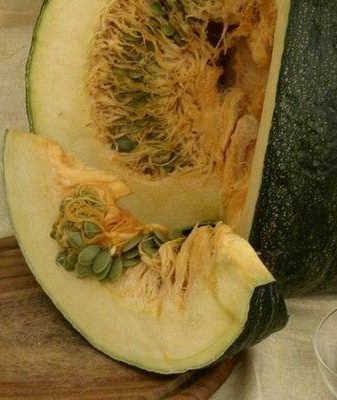
The pumpkin is like a treasure chest - everything is beautiful in it. Nature has created this vegetable to be perfect in every way. The pulp is tender, slightly sweetish, and its density may vary depending on the cooking options. In terms of cooking, it is widely used from canned food and main courses to desserts and pies. The seeds are stored without any special conditions in a dry place without direct sunlight. And note that dried and fried seeds are also eaten. It is interesting to consider the topic of growing pumpkin in a barrel.
Gardeners do not favor pumpkin with their attention, although they recognize all its benefits. The reason for this choice is that in our modern society, the average site is six hundred square meters. They are filled with flowers, vegetables, bushes and fruit trees so much that the pumpkin, who loves a lot of space and light, simply has nowhere to sit.
But we are famous for our ingenuity and our growers invented the method of growing in a barrel. You don't need a lot of space, and everything you need to grow well will get it done.
Agricultural technology for growing pumpkin in a barrel
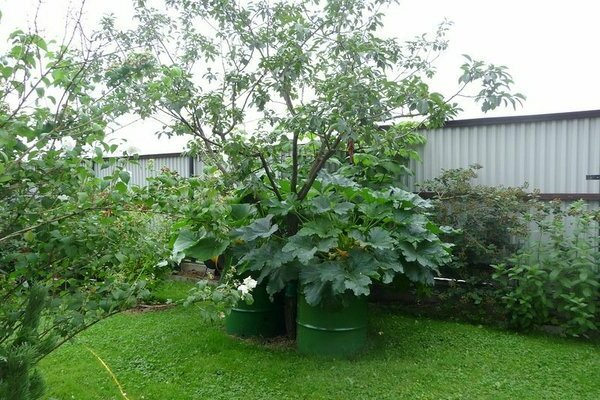
Growing pumpkin in a barrel: photo
Once you decide to grow and get a good harvest of pumpkin using the barrel method, you will be pleasantly surprised at how many advantages there are in this method, especially in comparison with the disadvantages.
This method saves space due to the fact that the whips of the vegetable go down along the perimeter of the barrel, and do not spread over the area of the garden. Also, as the pumpkin develops and grows, all the soil in the barrel by the end of the season will become an excellent compost. And by the next horticultural season, you can apply it to seedlings.
How to grow a pumpkin in a barrel. Barrel preparation
The basis of the method described in our article is, of course, a barrel. You do not need to purchase them additionally. Old and rusted ones are great. And if there is no bottom in the barrel, then this is just perfect.
If you did not find such an inventory, and you still took completely new barrels, you will have to spoil them a little and accept that they are no longer suitable for storing water. Punch holes in the sides and bottom. Thus, you will avoid stagnation of water and as a consequence of rotting of the root system.
To avoid damaging the branches of the pumpkin, secure pieces of rubber around the perimeter of the barrel. The best material for such a layer is a rubber hose cut in half lengthwise. Otherwise, the branches may break.
Some ingenious gardeners do not grow the pumpkin in a barrel, but in old tires stacked on top of each other, thus creating a homemade barrel.
The pumpkin is very sun-loving, so you should carefully consider the location of the barrel. A pumpkin planted in a barrel should receive the required amount of light. Otherwise, you will simply be left without a crop. Also, to avoid further rotting of the barrel and to improve heat transfer, the barrel can be coated with black or any other dark paint color.
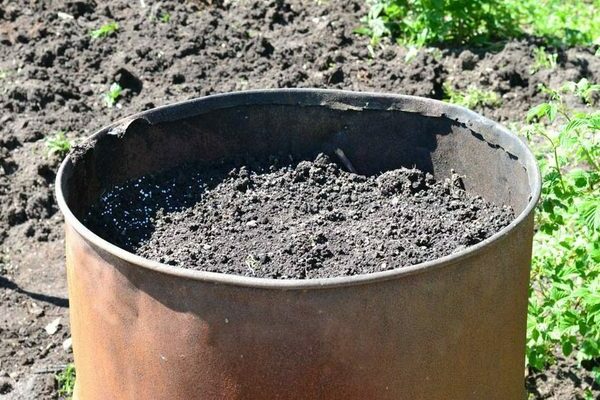
pumpkin in a barrel
The barrel is filled in the following order:
- Slow processing organics - weeds with a root system, small branches and dense stems, as well as paper.
- The second layer is quickly compostable organics such as grass and fallen leaves.
Filling is carried out both in spring and autumn. In the first option, give preference to semi-rotted compost. After filling the barrel with the above contents, compact it well by simply stomping it with your feet.
Since mid-spring, the already filled barrel is treated with water (spilled), and additionally treated with effective microelements to improve the already running processes that microorganisms carry out from the moment they enter the barrel.
It is thanks to them that your pumpkin will be saturated with nutrients. The whole process of preparing the substrate for planting seedlings will take a month.
Pumpkin in a barrel. Growing seedlings
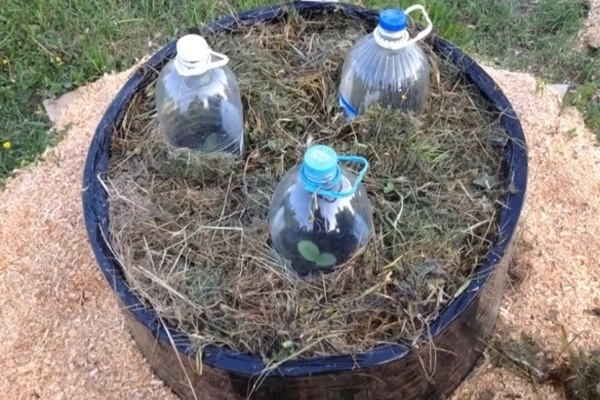
Before you start preparing and growing seedlings, be sure to pre-prepare the seeds. It includes:
- soak;
- warming up;
- hardening.
Warming up - in simple terms, this is not a natural aging of seeds, due to which the yield will be increased. The fact is that pumpkin in this regard is very similar to cucumbers and zucchini. If you want a larger yield in quantitative and qualitative terms, choose last year's seeds for planting.
The heating process lasts from 3 to 6 hours, depending on the chosen method.
- Natural. Spread the seeds on a thick, dark cloth and leave in the sun for 5-6 hours.
- Artificial. The seeds are spread on a baking sheet and heated for 3-5 hours, gradually increasing the temperature from 15 to 50 degrees. Be sure to stir periodically, otherwise the seeds will burn and become unsuitable for growing.
Also, thanks to heating, you will destroy possible fungal diseases.
Next, the procedure is carried out soaking... The whole process takes twelve hours. It is performed in warm water with a mandatory two-day shift. The water temperature is about +25 degrees. The seeds themselves are placed in a cloth and folded into a bag.
The last stage of seed preparation is hardening. Place swollen seeds in the refrigerator for 48 hours.
Spend your free time usefully by preparing consumables. Ideal for pumpkin - planting seeds in personal containers of about 150 ml. Pumpkin does not tolerate picks. In this regard, it must be transferred to the barrel together with the soil, transferring it from the container.
The seedling containers are filled with soil of the following composition: soil from the site, coconut substrate and organic fertilizers (all three components are taken in equal proportions). The seeds are placed 3 centimeters deep in the soil and covered with soil. Next, cover with foil and place in a warm and dimly lit place. The time required for the first shoots is 6 to 9 days.
We noticed that cotyledon leaves have already appeared on the seedlings, it's time to transfer the plant to the light. If the temperature in the open air allows, then you can start hardening the seedlings. The norm will be +15 degrees and above. At lower temperatures, the young plant may freeze.
Seedlings are transplanted into a barrel only after at least two true leaves have formed on it.
Plant care: how to feed a pumpkin in a barrel?
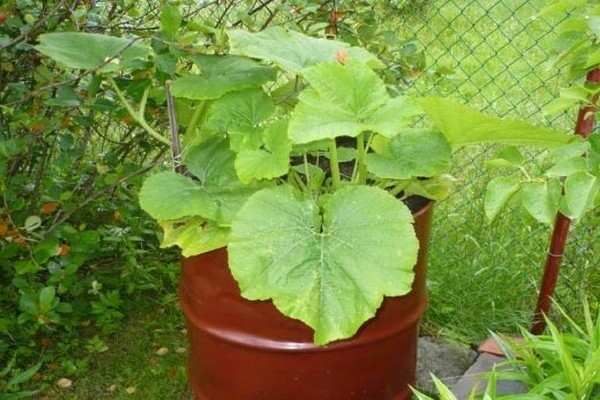
You will remember that the biomass was compacted when it was put into the barrel. But despite this, after a month, it will most likely settle even more. To completely fill the barrel, add humus or sand mixed with earth to it in a layer of no more than 10 centimeters, which in turn cover with earth.
The transfer of seedlings to a permanent place in a barrel is performed from May 20 to June 15. One barrel holds 1-2 seedlings, abundant watering is required. In case of danger of a sharp drop in temperature, the young plant is protected with a cut-off five-liter canister with a cut bottom.
It's important to remember that pumpkin loves well-hydrated soil. Accordingly, for a better adaptation and transition to growth, moisture should be abundant.
The advantage of the "barrel" is that throughout the development of the pumpkin in the container, the decomposition process does not stop, due to which the vegetable constantly receives the heat and nutrients necessary for development.
Humidification also prevents overheating, so one watering can include up to two buckets of water.Effective micronutrients will help you improve the degradation processes. One treatment in 50 drops mixed with water is enough.
The method described in this article provides the pumpkin with all the necessary substances. But if you are worried that this is not enough, then feed the young seedlings with herbal infusion.
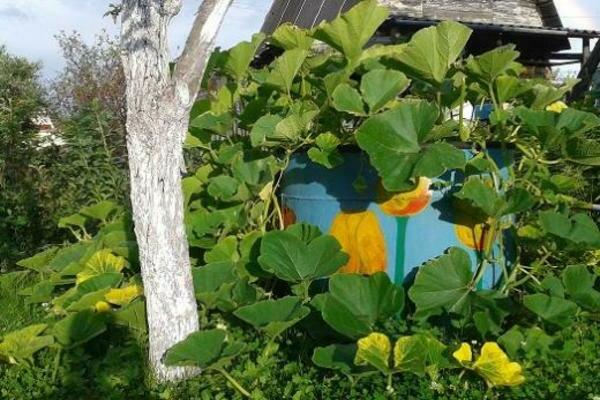
Since the pumpkin lashes are distributed around the perimeter of the barrel, hanging from it, prepare supports for large fruits in advance. No more than three fruits are left per pumpkin bush, after which the stem is pinched.
The ripe crop is removed, keeping the peduncle by about seven centimeters. This will increase the shelf life.
Growing pumpkin in a barrel - we draw conclusions
Another advantage of the "in a barrel" method is that the soil from it is widely used both for indoor plants and for feeding the garden.
This method is suitable not only for pumpkins, but also for squash. We wish your harvests to be bigger and tastier every year.


