Topiary. Curly haircut of bushes.
This article will tell you about the ancient, but always relevant art of creating "living" figures - topiary, which have been decorating European gardens for centuries. You will also learn how to create a do-it-yourself topiary on your site.
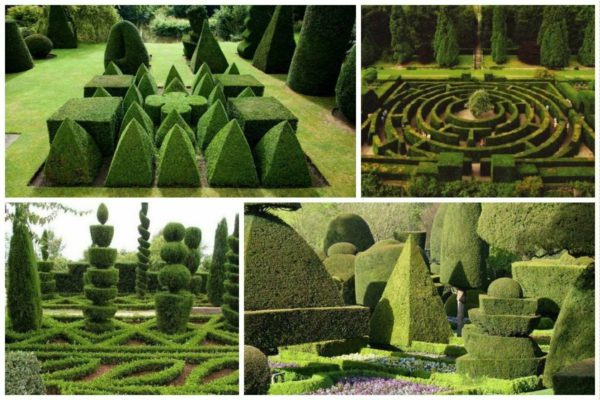
Topiary figures: photo
Of course, it is hardly possible to fully follow in the footsteps of European masters of garden design in the conditions of the domestic middle zone. Traditionally, the art of shaping green shapes involves the use of laurel, boxwood, yew, myrtle. Agree, cultures are quite exotic for our climate. Therefore, as an analogue, domestic gardeners process thuja western. The most popular variety is the columnar thuja. This is an evergreen, unpretentious plant with a dense crown and a delicious aroma.
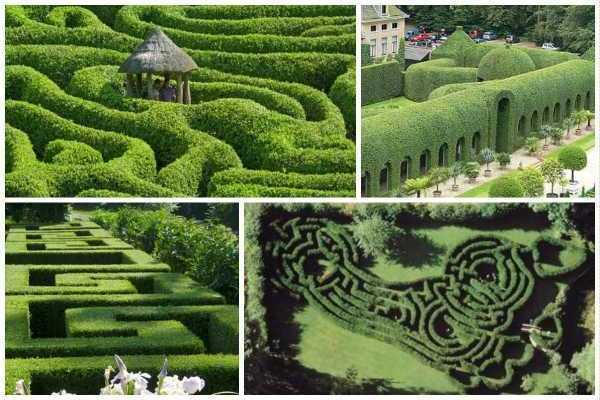
Topiara's figure: photo
You can purchase already grown saplings of thuja topiar, or you can grow them yourself from seeds, which will take a lot of time. Seeds are sown before winter and sprout in spring. After two years, they need a transplant, since the grown plants are getting cramped. At this stage, you can choose the most viable and strong trees and work further with them. They will be ready for landing and shaping them in 4 years.
The place for planting young thuja topiar should be open and well lit so that the crown develops evenly from all sides. But protection from cold and wind will not be superfluous, therefore, it is optimal to arrange trees under the protection of buildings or hills. Thuja prefers loamy soils, which are recommended to be fertilized with organic matter in advance. Also, before landing, you should dig up the area for one and a half or two bayonets of the shovel.
After planting, caring for thuja topiary consists in regular watering, because this species prefers moist soil and air and does not tolerate drought. To retain moisture, mulching with peat or manure is recommended. To promote the formation of a dense crown, you can periodically pinch the tops of the axial shoots. A regular pruner is used to shape the thuja.
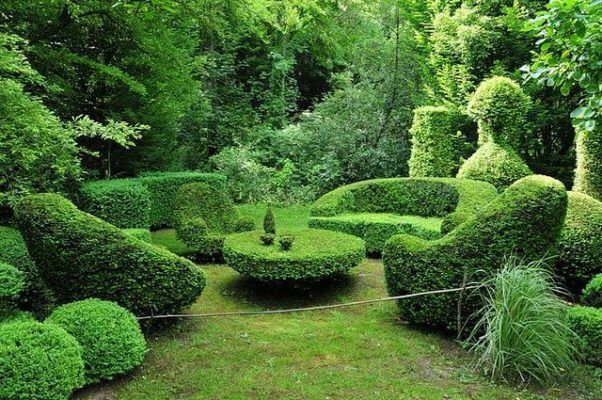
Diy topiary figure: photo
There are several rules for forming a crown for topiary:
- The ratio of the height of the artificial crown to the natural one should be 1: 3;
- Only pruning of annual shoots (thinner than 1 cm) is allowed. Long-term growth cuts only as a last resort and gradually in order to avoid causing deep wounds to the tree;
- You can fill the void in the crown by shortening adjacent shoots.
Obviously, the art of do-it-yourself topiary requires not only creativity, but also patience. After all, the process of crown formation can take several years. For example, to give the crown a conical shape, the following sequence of actions must be observed:
- in the first year, the top of the tree is pinched;
- in the second year, pruning of the top and upper shoots that protrude beyond the desired shape is permissible;
- for the next 3-4 years, the trimming procedure is repeated until the cone is completely formed;
- to give the already formed crown more distinct outlines and density, the haircut is carried out 4 to 6 times per season;
- To maintain a conical crown in perfect condition, it is enough to trim it twice a season.
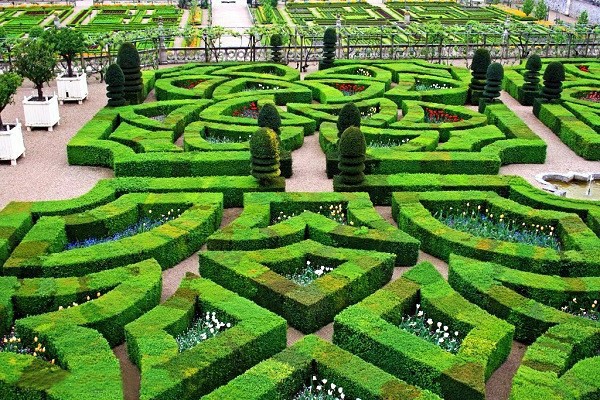
Topiara's figure: photo
It is also possible to form a topiary figure in the form of a standard crown, for example, in the form of a ball. To do this, simultaneously with trimming the upper shoots, you need to gradually bare the trunk. In the first year, you can remove the shoots up to the 20 cm mark. In the second year, go up another 20 cm. The wounds inflicted on the tree must be covered with garden varnish.Despite the length of work and their slow pace, Topiar's art is one of the most effective ways to create a truly unusual and memorable garden ensemble.


