Transplanting violets at home: a complete guide
Content:
The article presents in detail the transplant of violets at home: timing, preparation, methods.
Transplanting violets at home: an introduction to the topic

All home violets are extremely important to transplant from time to time. Over time, the soil in the pot begins to lose its beneficial properties. Plants take all useful substances from it, the soil also cakes, oxygen access becomes difficult, the acidity level changes, it becomes not what is necessary for plants. All this does not have the best effect on violets, they lack many nutrients, they gradually lose their attractive appearance.
Transplanting violets at home: timing

Violets require constant care, you can't just put this plant in a pot one day and forget about it. The plant takes all the nutrients from the soil, grows, it becomes cramped, it is bad in a pot. The development of the violet slows down, it withers away, ceases to delight with its flowering. Violets, which are difficult to make bloom, are primarily concerned with. In order for the violets to bloom profusely, and their lower part of the stem does not start to stretch ugly, they must be replanted annually.
If we talk about uzambar violets, then it is quite simple to determine when they need a transplant. A whitish bloom appears on the soil, which indicates that a sufficient amount of air does not enter the soil. If you take the flower out of the pot, you will notice that its roots are strongly entwined with an earthen lump, which also suggests that it is time to transplant the plant.
Many inexperienced flower growers ask themselves: at what time of the year is it possible to transplant violets at home, is it permissible to do this in the fall? Transplanting violets is possible at any time of the year, but in the conditions of our country's climate in winter, the plants will not have enough sunlight, which means they will suffer the transplant worse. Therefore, spring is considered the optimal period for transplanting. If additional lighting can be made for the flowers, then it will be possible to replant them in the fall and winter. It is advisable not to transplant in the summer, when it is too hot, it will not be easy for the plants to take root.
You should not engage in transplanting violets when they bloom, no matter what time of the year it happens. Transplanting is undesirable, even at the bud stage, because this will stop flowering. In this case, there is no sense in rushing to transplant, if the violet was able to bloom, then the conditions for it are satisfactory. You can transplant it when the flowering stops. But if the soil in the pot has become too acidic or pests have appeared, you should not waste time thinking. You need to immediately transplant the violet. You can do this using the transshipment method, which will be discussed in more detail below. This is the least traumatic transplant method. All flowers and buds that have appeared must be removed so that the plant has the strength to survive the transplant.
Violet transplant at home: preparation

It is important to prepare the violet for transplantation. By the time of the procedure, the soil in the pot should be moist. If it is overdried or, on the contrary, excessively wet, then there is a risk of harming the roots during transplantation. Violet leaves should be absolutely dry, then they will not get dirty.
It is undesirable to use old pots for transplanting violets at home, especially if they have salt deposits on them. If, nevertheless, it is decided to transplant the violet into an old pot, then it must be thoroughly washed.
For each next transplant of indoor violets at home, you need to use pots with an ever larger diameter. But whichever pot you choose, the size of the violet should still be three times its diameter.
Experienced flower growers advise purchasing pots made of plastic. In ceramic, the soil dries out quickly. Also, ceramics has a bad effect on the plant; in the violets, the lower leaves begin to fade from contact with ceramics.
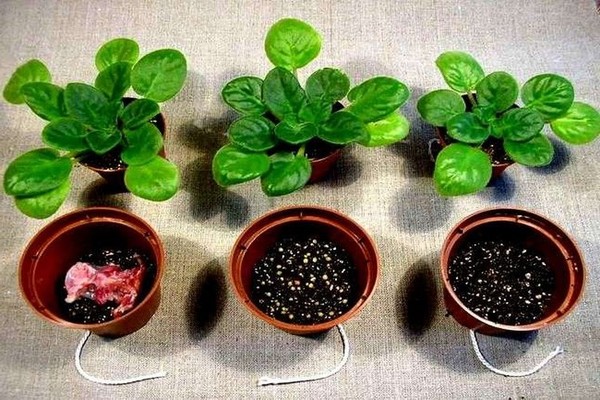
For violets, loose soil is suitable, which allows moisture and oxygen to pass through well. It must certainly contain sand and peat. Expanded clay or sphagnum should be placed on the bottom of the pot for drainage.
The violet must be planted to such a depth that its lower leaves barely touch the ground. Watering the violet after transplanting is not required. You can cover it on the first day in a new pot with a plastic bag.
Large uzambara violets, which have grown a lot, can be rejuvenated during transplantation. This is done simply: when transplanting, part of the roots of the plant is cut off, and at the same time large leaves are removed. The leaves do not have to be thrown away, they can be used for propagation.
Methods for transplanting indoor violets
After the time for transplanting has been chosen and the pots are prepared, you can choose the transplanting method. In total, there are only three ways to transplant violets at home.
- When the violet has a very bare stem, the leaves began to wither, the soil sour, then it is suitable for it transplanting violets at home with a complete change of soil... With this method, the soil in the pot is completely renewed, the roots of the plants are cleaned, during which it is worth examining them and cutting off the rotten ones. The plant must be carefully removed from the pot and shaken off the soil from its roots, yellowed lower leaves, and lightly powdered with coal. When a lot of bad roots are found and removed, then for transplanting you need to take a smaller pot than it was before. At the bottom of the pot, you need to place expanded clay or sphagnum for drainage, then pour soil and place a violet. From above, you need to carefully add the earth to the level of the lower leaves. The earth needs to be poured lightly knocking on the sides of the pot so that it settles down better. After a day, the plant needs to be watered, if the soil has settled down, add more sleep, the flower stem should not be exposed.
- Violet transplant with partial soil replacement often used for young violets. With this method of transplanting, young plants, which have become cramped in the pot, move into a larger pot, while the soil partially changes. The plant is carefully transplanted into a larger pot, while the roots of the violet remain intact. The transplantation takes place in almost the same way as in the previous case, with only one exception - violets hardly shake off the ground from the roots.
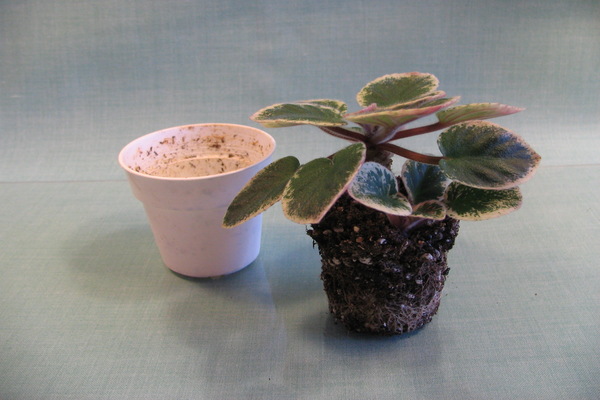
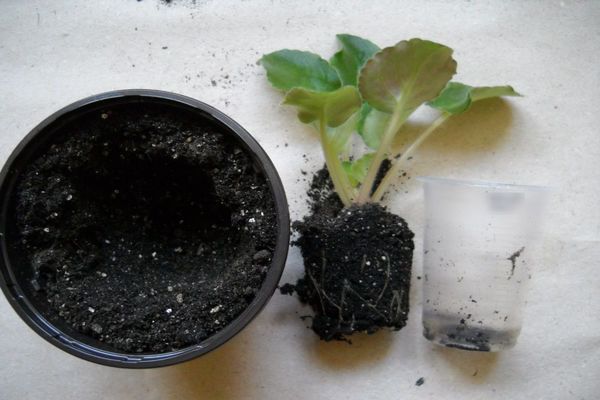
- Transplanting room violets by transshipment used when a blooming violet needs a transplant, you need to transplant young babies or a violet that has outgrown for its pot. During transplantation in this way, the soil from the roots of the violet is not shaken off at all, the earthy clod remains intact. The pot where the violet will be transplanted is filled with drainage by one third, a little soil is poured on top, and then the violet is placed along with an earthen lump, the distance between the earthen lump and the walls of the pot is filled with soil. You need to knock lightly on the walls of the pot so that the soil settles down more densely. The surface of the old and new soil must be at the same level. This completes the transfer using the transshipment method.
Violets are very beautiful plants. In order for them to delight with their beautiful flowers, they need to be properly cared for.A lot of attention needs to be paid to these plants, growing them from small leaves, they need to be planted on time when children appear, and we must not forget about the rules for transplanting violets at home


