About an easy way to grow cucumbers on your balcony
We grow cucumbers on the balcony
Not everyone has their own garden, dacha or personal plot. And everyone wants to eat delicious, natural vegetables without nitrates and harmful additives. To create your own garden, a balcony in the apartment is quite enough. How to properly prepare the room, what varieties of cucumbers to choose and how to rationally place cucumbers on the balcony in a limited space, read on.

Not all varieties are suitable for growing cucumbers on a window or balcony. The lack of natural pollinators such as wind and insects somewhat limits the choice of varieties for a small garden. To start your horticultural experience, it is best to choose hybrids that are resistant to temperature extremes and do not require pollination. Pay attention to the size of the fruit and its early maturity. Quickly ripening cucumbers will allow you to extend the harvest until the very frost. And the small size will not allow you to pull the whip even if you delay a little with the harvest.
It is important to pay attention not only to the choice of seeds, but to the choice of soil, top dressing, pots. Create a microclimate for cucumbers on the balcony. The yield of our plants directly depends on compliance with the rules and regulations.
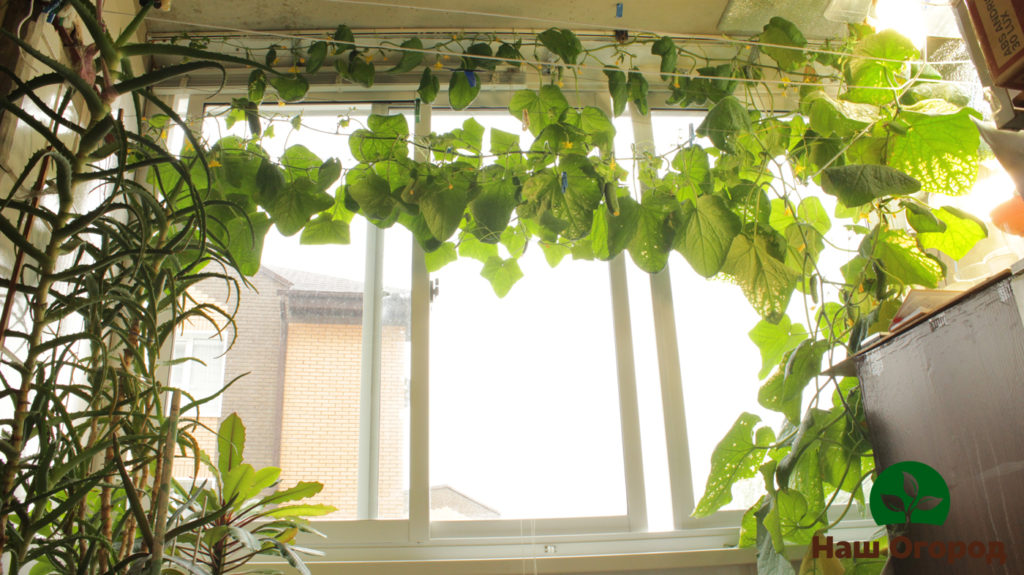
A balcony for cucumbers is suitable for a tightly glazed one (there will be few windshields), with the possibility of heating in case of frost and additional artificial lighting. Ideal arrangement of balconies for growing juicy cucumbers on the southeast, south or east side. The plant will receive the amount of sun and heat it needs. If there are no such conditions on the balcony or loggia, then you can arrange the pots with seedlings right in the room, the windows of which face one of these cardinal points.
Let's move on to choosing pots to grow cucumbers on the balcony
An excellent option for growing cucumbers on the balcony would be a container for balcony flowers. They have a fairly wide range of sizes and can ideally fit the width of your windowsill. It is also quite possible to use conventional plastic or ceramic pots.
The main and perhaps the most important criterion for choosing a pot for cucumbers will be the presence of drainage holes and a support for the container / pot to remove excess moisture. It is thanks to them that the rhizomes of the plant will breathe and, thus, we will prevent the process of decay. It is also recommended to use expanded clay, fine gravel or drainage mixtures for drainage, which can be easily found in specialized flower shops.

How to fill the pots for future plants? The yield of our cucumbers directly depends on the composition of the soil. Ideally, this is a mineral soil, fertile soil that includes peat and vermiculite. In specialized stores, you can find prepared ground for cucumbers. If this is not the case in your city, then you can prepare the soil yourself. To do this, combine peat, sawdust, oily humus and sod one by one. For 12 liters of prepared soil, add:
urea - 1 tsp.
nitrophosphate - 1 tbsp. l.
ash, potash, nitrogen and phosphorus fertilizers 50 g each
How to prepare seeds for sowing?
To achieve the desired result, it is better to germinate cucumber seeds. We prepare a weak solution of potassium permanganate, immerse the seeds there. After 15-20 minutes, take it out and carefully spread it on a piece of gauze moistened with warm water at 55-65 C °. After 2-3 days, the first shoots will appear. Pay attention that the gauze does not dry out.
Now the prepared seeds can be safely planted in cups with a drainage hole at the bottom. We plant it to a depth of 1-1.5 cm.There should be only 1 sprout in 1 cup and the air temperature in the room should not fall below 24 ° C.
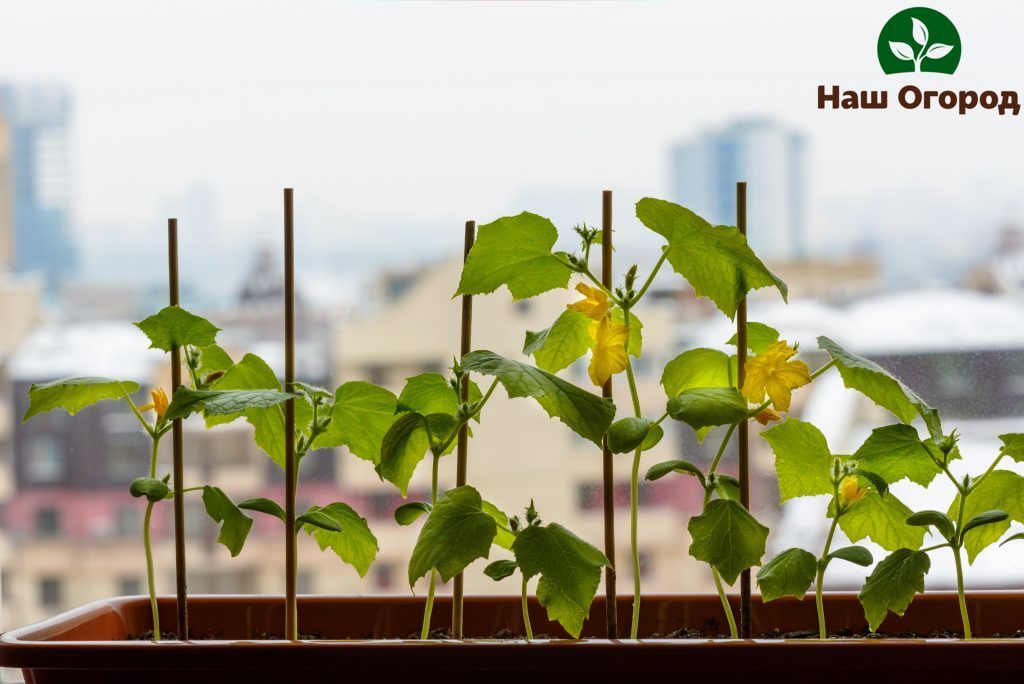
The sprouts are transplanted into the container after about a month. An hour before transplanting, the soil in the container is watered with hot water. The shoot, together with a lump of earth, is carefully removed, without disturbing the horse system, and transplanted into containers. Cucumbers are tied up after the appearance of 4 leaves. To do this, use twine or any other soft rope. Watering is carried out once a day in the morning.
You can try the first harvest after 1.5-2 months.

