How to grow a cherry from a stone.
Content:
Most often gardeners use cherrywhich was obtained from rootstock seeds of the variety they liked. This is a very good option to grow an already proven cherry variety on your site, you do not need to purchase expensive cherry seeds from a special nursery. But many are worried about the question of whether it is possible to grow a full-fledged cherry bush at home, just in a pot. Is it possible to grow cherries from seeds.
If you take proper care of cherries, and if you can choose the right planting material, then only then can you grow a full-fledged cherry at home. If this does not happen, then you can only get wild game, which will bring a small harvest, with a not very attractive taste. In order to grow pitted cherries, the following varieties are best suited:
- Felt.
- Ordinary.
- Sour (tree-like).
How to prepare for planting cherries at home.
In order to carry out the cultivation of cherries, you need to spend a lot of time and effort. First you need to start preparing the planting material, germinating it
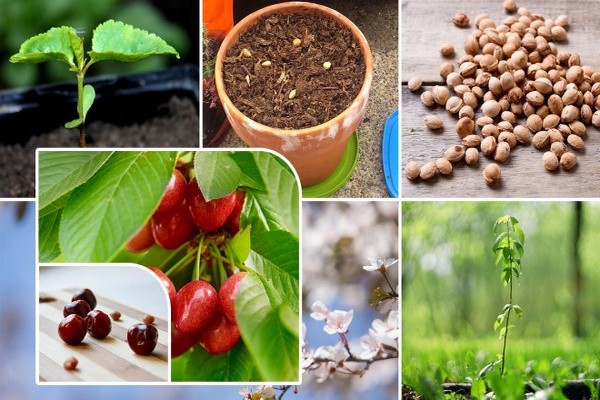
We collect seeds.
If you think that a good cherry can come from any seed, then this is absolutely not the case. It is best to choose a cherry variety that is already growing in your area. In order to choose high-quality planting material (seeds), you need to choose ripe berries that do not contain worms. You also don't need to think that if you buy cherries at the bazaar or in the store, then you can grow a full-fledged berry from it. The thing is that most often the berries that are grown for trade begin to be harvested a little earlier than their technical maturity, so there is no need to rely on proper planting material. In the desired cherry, the seeds are very easily removed from the berry itself. You can collect seeds even from those berries that have fallen from the tree. The seeds may need about 9-10 pieces. You need to understand that not all of them will be able to sprout, while others can bring small and weakened sprouts that will not have full, normal development.
We germinate seeds.
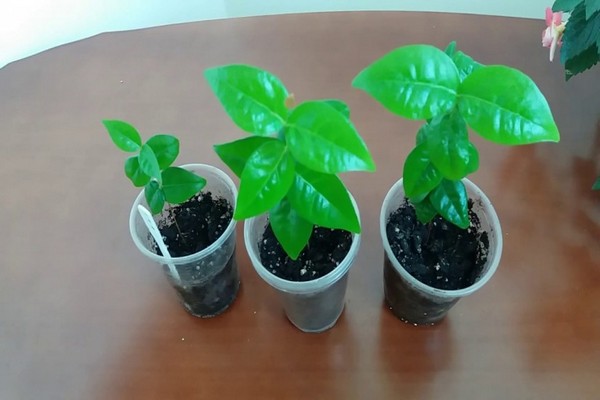
It is necessary to germinate seeds in several stages:
- Soak.
- Carry out stratification.
- Sow into the ground.
The seeds that you have collected and peeled from the pulp must be thoroughly rinsed. Then soak in water for 3-5 days. In this case, I will need water every day. On the first day, potassium permanganate must be added to the water (per 100 ml 1 g). With regard to stratification, the gardener must create conditions that will be as close to natural as possible. Those. the seed will sit in cold, moist soil under the snow until spring comes. To do this, the seeds must be kept in peat, in a sand mixture (1: 1), keeping the temperature from 0 to +6 degrees, for 2-5 weeks. Care must be taken to keep the substrate constantly moist. To do this, you can use a spray bottle.
In this way, you can achieve a state of embryonic sleep. When you start replanting seeds in the ground, the temperature will begin to rise, and, therefore, the growth process is activated. After stratification on the shell, you will be able to notice the appearance of cracks, and sometimes germs. Then you need to transplant into open soil. To do this, it is better to purchase peat pots and plant in them. This way you can keep track of the growth of each seedling separately. After planting, you will need to create a greenhouse effect for better growth.To do this, cover the containers with film or glass, take them to a dark place, where the air temperature will be no more than +25 degrees. Germination takes up to 1 month. During this time, you will need to remove the film every day in order to ventilate the seedlings (for about 20-30 minutes), if necessary, moisten the soil with a spray bottle. When you notice the appearance of the first shoots, you can remove the shelter and send the container to a well-lit area.
Preparing the soil.
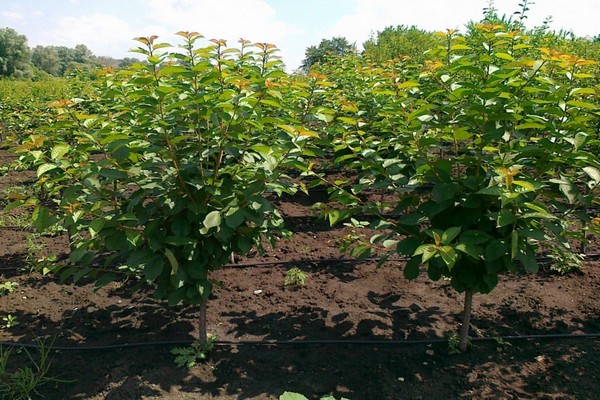
in order for the seeds to germinate well, it is necessary to start preparing a loose and fertile substrate in advance. For its preparation, it is necessary to take equal proportions and mix peat, leaf humus, garden soil, coarse sand. The resulting mixture must be carefully shed with a solution of wood ash. Ash (600 g) should be added to 10 liters of water and boiled for 20 minutes. Then remove from the heat and fill it with soil. after it cools down to about +30 degrees, then you can plant seeds. Before laying the soil in the container, it is necessary to add a layer of expanded clay (1 cm). this will create a drainage effect.
We grow and care for seeds.
After the first shoots appear, and you remove them to another well-lit area, the temperature must be maintained at up to +20 degrees. After that, you need to constantly moisten and loosen the soil. For fertilizers, organic fertilizers and a mineral complex are well suited. Top dressing is needed when you notice the appearance of 1-2 leaves. Top dressing is applied once a month and at the root of the plant. good application of liquid mullein. It must be diluted with water (1:10). Each plant needs to add 200 ml of fertilizer. Organic fertilizers should be alternated with a mineral complex. Nitrofosk is also well suited (for 3 liters of water, take 1 tablespoon of the product, for each plant - 200 ml of the finished mixture). You can also use superphosphate (for 10 liters of water, take 10 g of the substance - 300 ml of the finished mixture per plant). Nitrofosk must be used throughout the warm season, it must be alternated with mullein, superphosphate must be added in August. From September, you need to finish fertilizing. For 2 years after planting, fertilizer should be applied once every 2 months. Water the plant when needed. You need to check the dryness of the soil with a wooden stick. It is lowered into the ground, then pulled out and watched. If the stick remains dirty, then it is not worth watering the plant yet. The first time it is better to water the plant and apply top dressing using a spray bottle. In winter, you need to reduce watering to the minimum amount. Water can be poured in once every 2 months, but at the same time it is necessary to ensure that the soil does not dry out. After you water the plant and add top dressing, do not forget about loosening. This will help the oxygen to penetrate deeper into the roots of the plant. when 4 leaves appear, then it is necessary to dive the plant. if you grow the plant in peat containers, then this process will be very simple. You need to take a pot and put it in a container a little more and fill the voids between the two containers with soil.
It is necessary to transplant into an even larger container when the roots grow through the drainage hole. In summer, the plant is best grown outdoors. If this is not possible, then an unglazed balcony is well suited. A dive of a plant into open ground is necessary so that it reaches 2 years of age. You can then keep it on the glazed balcony. When the plant sheds its leaves, it hibernates. But you need to insulate the pot in advance. This should be done using agrofibre, wrapping the container. To avoid freezing, you need to mulch the soil with humus. It will be like a hardening procedure before transplanting the plant into open soil.
We transplant the seedlings into open soil.
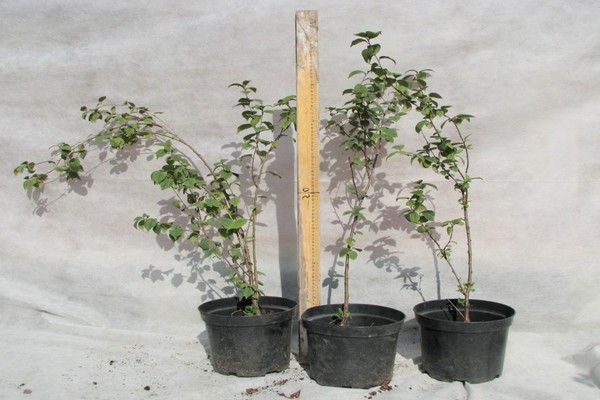
It is necessary to transplant the plant into open ground at the age of 2 years, when it will be up to 1.5 m long and there will be about 3 skeletal branches. Before making a transplant, it is necessary to prepare the site in advance. This should be done 6 months before the transplant.
Where and at what time can you land.
The place should be sunny, sheltered from the winds. It is good to plant next to the fence of the house, some kind of outbuildings. It is necessary to maintain a distance to the obstacle, about 2 m. It is also necessary to check for the presence of groundwater. It will also be nice if the distance to them is about 2 m. If on your site you could not find a suitable place, then you need to create an artificial hill. It is better to transplant in the spring, before the buds begin to bloom. This way you can keep track of how the plant adapts to new conditions. What should be the landing pit.
The soil should be well fertilized, loose, neutral acidity. Loam is good for development. It is necessary to prepare the soil in the autumn. All weeds and debris must be removed from the site. Dig the soil 30 cm deep, disinfect the soil using a 3% solution of copper sulfate. After a week, a similar digging must be repeated, adding per 1 square meter: Sand (10 kg). Manure (20 kg).
Superphosphate (30 g).
in the spring, digging is done again. Adding compost for every square meter (20 kg). It is necessary to prepare the planting pit 1 month before planting. Dimensions should be 0.6 * 0.8. If you plan to plant several plants, keep a distance of about 3-4 m. The topsoil (30 cm) must be mixed with compost (20 kg) and superphosphate (30 g). The resulting mixture must be added to the planting hole by 1/3. Set the count and water with 20 liters of water.
How to make a transplant.
A week before transplanting, the plant does not need to be watered for 7 days. When you transplant, you need to create a mound in the hole, which looks like a cone, on which a container with a plant is placed (if you planted in a peat container) and then level it so that it does not turn out that the plant is at a great depth in the soil. if you were growing seedlings in a plastic container, then transplanting must be done using the transshipment method, keeping the earthen lump. After the hole is filled with soil, the trunk circle must be well compacted and 20 liters of water must be added. After absorbing water, mulch the soil with peat and sawdust, in a layer of 5 cm.
Follow-up care of seedlings.
Within 1 year of life, the plant needs to be watered once a month, 10 liters of water. Then, for 2 years of plant life, the amount of water is increased to 20 liters once a month. For 3 years of life - 30 liters of water 1 time in 2-3 months. Then it is necessary to water:
- When the kidneys will swell.
- After the end of flowering.
- 2 weeks after harvest.
- With the onset of September.
It is necessary to apply fertilizers from 2 years of plant life 2 times during the season. In springtime, before the buds swell, you need to take 6 tbsp. nitrophoska and dilute in 30 liters of water. In September, when you will carry out the last watering on 1 sq.m. in the trunk circle, add superphosphate (30 g) or wood ash (400 g).
Throughout the season, after the rain has passed and watering or fertilizing, it is necessary to loosen the soil, then mulch with compost. For preventive purposes from diseases and insects, they are treated with a solution of wood ash. In 10 liters of water, you need to dilute 1 kg of ash, boil for 20 minutes. Cool the resulting solution, strain and add another 3 liters of clean water. The finished solution is sprayed on the plant. in autumn it is necessary to whitewash the trunk, 1 m in height. Before the winter period, the soil is mulched, with a layer of no more than 10 cm.after planting, within 1 year of life, it is necessary to engage in the formation of the crown, namely, to carry out a sparse-tiered formation. At 1 year, it is necessary to keep 3-4 strong branches, which are evenly spaced along the circumference of the tree trunk. Those shoots that remain must be shortened by 30 cm. The first skeletal branches should be at least 45-50 cm from the ground level.
The central conductor must be shortened in such a way that its length is 20 cm longer than the skeletal shoot. Then the obtained cutting parameters must be saved. For 2 years of plant life, it is necessary to leave two annual growths on each skeletal branch, the rest must be cut off. The branches of the second order must be shortened by 10 cm for 3 years, two strong growths must be left on the shoots of the second order. Then the plant needs to carry out sanitary pruning - cut off damaged branches, branches that thicken the crown, compete with the main ones. Pruning should be done in the spring, before the buds begin to swell. In the fall, it is necessary to cut off all damaged branches, as well as diseased or attacked by pests. When the cherry begins to bear fruit. If all the necessary actions are performed correctly, then the first fruits will be possible after 5-6 years. But it must be remembered that the newly obtained plant may in some way differ in some characteristics from the mother plant, moreover, if there was no grafting. It is in principle possible to grow cherries from seeds, but all the necessary rules for planting and caring for the plant must be observed. It may also take a little longer than if you would plant a plant that you would acquire in a special nursery.

