How to plant dill
Content:
Dill is probably the most common and beloved spice by all. It is added to many dishes to enhance their taste and aroma. They also use twigs to decorate the festive table. Dill is rarely given a separate place in the garden, more often plantings are compacted to them. It is quite unpretentious, so basically there are no problems with its cultivation. But if you want to get a really large harvest of juicy greens, without facing plant diseases and the invasion of harmful insects, then you should adhere to some rules when preparing the soil, seeds and when caring for plantings. How to plant dill is described in the article.
How to plant dill. First, choose a place
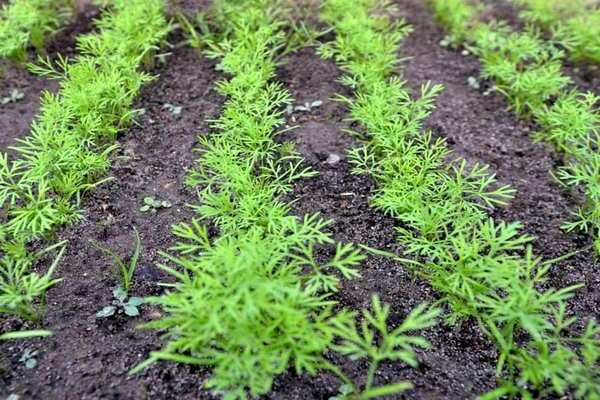
First of all, you need to choose a place where the plant will be most comfortable. It is necessary to start with the fact that, taking into account the rules of crop rotation, exclude the beds where carrots, celery or parsley grew before the dill.
The best precursors for dill are cucumbers, peas, beets, or cabbage. If you plan to plant several crops on one bed, then dill can be combined with garlic, potatoes or cabbage. With all other plants, he is not "friends", that is, in the end, both crops will not give a good harvest.
When planting together, arrange the plants so that when they grow, they do not block sunlight from each other. Dill is very fond of the sun's rays, so choose a particularly bright place for it.
Do not use dolomite as a fertilizer; dill does not tolerate liming of the soil. After you have chosen a place, you need to carry out a phased soil preparation. And it's worth starting in the fall.
When completing garden work, dig up the ground, remove all plant debris and larvae, if any. The more thoroughly you carry out these works, the less problems with weeds and pests you will have in the next year.
If there are anthills nearby, then try to destroy them: where there are ants, aphids will definitely appear. When digging in soil, add organic fertilizer. At your discretion, this can be humus, compost, mullein, or chicken droppings.
During the winter, the fertilizer will turn over and by the spring the soil will become very nutritious. In the spring, before planting, you can not dig up the soil, but only loosen it. And then level it and water it well a couple of days before sowing.
To plant dill in the ground, you need to prepare planting material
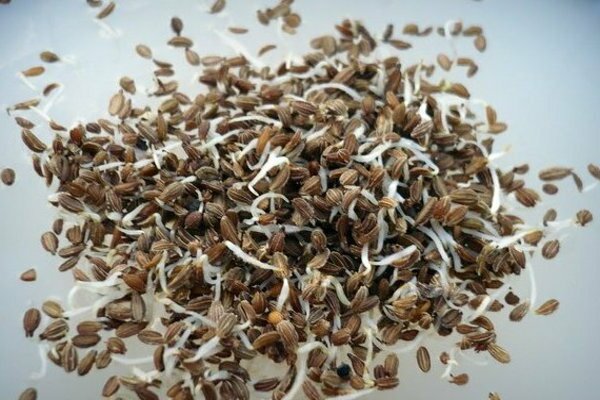
In addition to preparing the site, you also need to prepare the seeds. Due to the high content of essential oils, dill seeds germinate for a long time. Therefore, they will need to be pre-soaked before planting. So you can get friendly shoots much faster.
There are different methods of soaking, we will focus on three of the most popular.
- The easiest option. Place the dill seeds in a cotton cloth or cheesecloth and cover with warm water, making sure that the cloth does not dry out. After two days, the seeds can be planted.
- Prepare a container with hot (about 60 degrees) water, put the dill seeds in a gauze bag and immerse them in this water for a couple of minutes. Then put the seeds right in the bag in normal temperature water and change it every 6-8 hours.
- This method is suitable for those who have an aquarium compressor. Place it in a container filled with water, dip the seeds in the same place. Turn on the compressor and leave it that way for 20-24 hours. It is the third method that ensures the fastest germination of seeds.
It is important to know that after any soaking, the seeds must be dried on a napkin or paper towel at room temperature. Only dry seeds should be sown.
How to plant dill seeds correctly
So, you have a garden bed ready, seeds prepared, you can start planting. You can determine the landing time by the settled warm weather. In the case of early spring, dill can be sown as early as mid-April.
Planting can be done in a continuous way. Pour the seeds into the prepared furrow as needed, and thin them after the emergence of seedlings.
The second landing method is called lowercase - arrange the seeds so that there is a gap of 4-5 cm between them. In this case, thinning is not required.
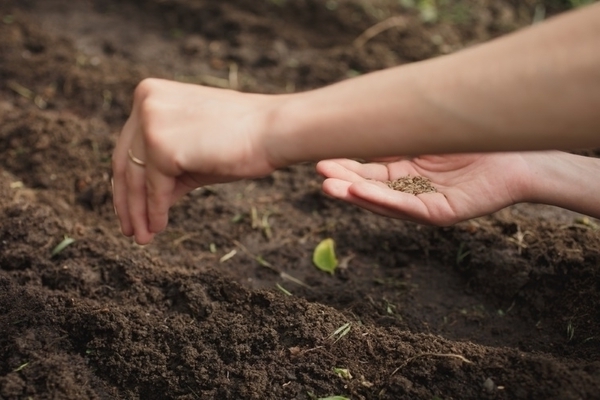
Regardless of which method you choose, you must follow some rules when landing:
- the soil must be moist.
- the seeds must be deepened by about two centimeters.
- the distance between the rows should be at least 20 cm so that the planting does not turn out too dense when the plants grow up.
- do not water the garden bed after sowing seeds. A jet of water can dislodge seeds and wash them to the surface.
- do not use ash or dolomite flour on the "dill" bed.
- it is better not to plant all the seeds at once, spend the rest of the sowing in a couple of weeks, and then in a couple of weeks - this way you will be provided with fresh herbs for a longer time.
How to care for dill
You have planted seeds. How long will it take for the first shoots to appear. On average, this happens after a couple of weeks. But in fact, it all depends on the pre-sowing preparation and climatic conditions. If you have not previously prepared the seeds in any way, then most likely they will germinate in three weeks.
When soaking, essential oils are washed out, which inhibit seed germination. So the prepared planting material will germinate in 5-7 days. If the weather is cool and the average daily air temperature is +5 degrees, then the dill will appear on the surface in 15-20 days. And if the air and soil have warmed up to + 15 ... + 20 degrees, then the germination time will be halved.
Caring for dill will not take much of your time, but it will still require some labor. After the seedlings appear and get a little stronger (a couple of weeks is enough), they will need to be thinned out. Why is it undesirable to do it right away? If the plants are sitting too close to each other, then there is a chance to pull out more shoots than planned, so you need to act very carefully.
If there is not enough rainfall, then do not forget to water the dill. Do this every three days in the evening. When the soil dries out, the dill turns yellow, withers and ceases to be juicy.
Be sure to weed and loosen the soil. Weeds take nutrients from the soil that are destined for dill and thicken the planting, creating a favorable environment for pests and diseases.
In case of unexpected frosts, cover the dill overnight with plastic wrap or geotextiles. Watch the condition of the greenery, it will always signal if something goes wrong.
In case of yellowing or wilting of greens, feed with organic matter or complex mineral fertilizer.
How to plant dill in open ground - non-standard sowing methods
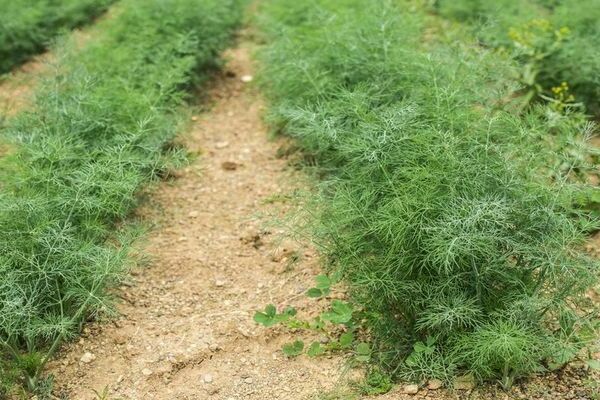
Field planted with dill. Agriculture land
In addition to the spring sowing work familiar to every gardener, you can resort to non-standard methods - plant dill in autumn or winter.
This winter planting will provide you with the earliest harvest.
For autumn planting, it is necessary to sow seeds in the second half of October or in the first days of November. The advantage of this planting is that the seeds do not need to be soaked - all ethers will be washed off with melt water. The seeds will need to be deepened more, by about 3.5 cm. After that, the soil can not be compacted, but you need to cover it with geotextile and fix it well around the perimeter.
If you missed the landing in the fall, don't worry, you can do it in the winter.Clear the desired bed from snowdrifts, scatter the planting material over its surface, lay a layer of earth (not frozen lumps, but soil) or compost on top. And then you can throw snow on top again.
Seedlings will appear as soon as the snow melts and the soil begins to warm up. At this time, be sure to carry out nitrogen fertilization so that the dill grows more actively and is stronger. But during the entire growing season, do not use nitrogen fertilizers more than twice. Otherwise, greens will accumulate nitrates.
After the appearance of three true leaves, thin out the seedlings. Further care of the plant is no different from what was described above.
Harvesting
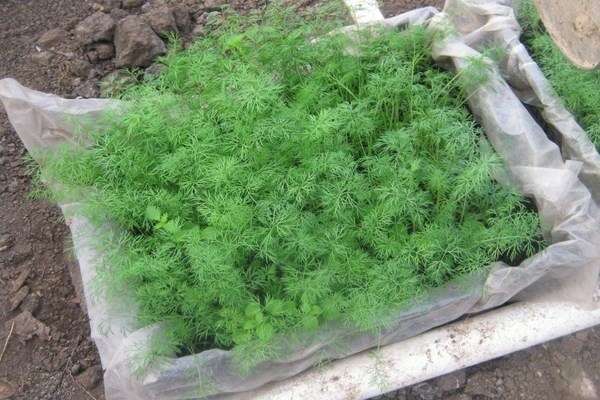
Dill bought in a store will never be as juicy and aromatic as the one that you pick from the garden. You can start collecting dill after the bushes grow about twenty centimeters. This will happen 20-25 days after germination.
If by this moment you have not thinned out the planting enough, then pull out the plants by the roots. If the plants are located at a sufficiently comfortable distance, then you need to carefully pick off the leaves, trying not to disturb the dill, so that it continues to grow.
To keep the harvested greens fresh longer, spray the dill with water from a spray bottle for a while before harvesting.
Dill is not difficult to grow, and there are no special tricks here. You just need to follow some simple rules, and the harvest will be very rich.

