Cutting panicle hydrangea in spring, summer and autumn.
Content:
Every year hydrangea is gaining more and more popularity among gardeners. With regards to this type of shrub as paniculata, it simply wins hearts. Her so-called panicles are very beautiful and fluffy, she blooms throughout the summer and in the flesh until the very cold. It can grow perfectly in almost any climate, and is not whimsical at all, which is its huge plus. In this article we will consider such a question as cutting hydrangeas at different times of the year.
Briefly about hydrangea
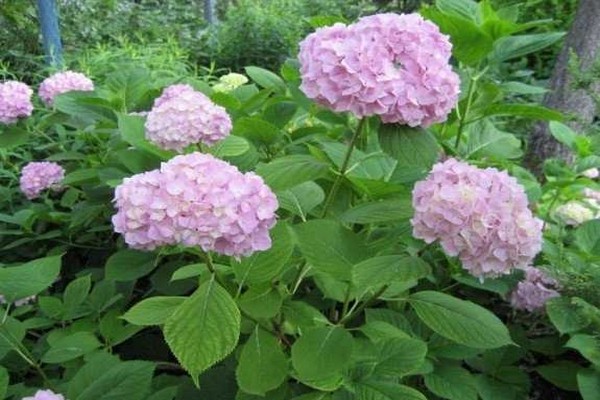
Outdoors, this type of hydrangea can easily grow up to five meters in height. Already in the year of planting, by the fall, all its shoots begin to become covered with bark and grow stiff. Thanks to this property, it easily tolerates all winter frosts. The next year, the shrub begins to bloom profusely with large panicles, and its flowering lasts until the very frost. If you correctly prune the shrub, then giving it a boring shape is not difficult at all.
There are several ways to propagate this type of hydrangea, but grafting is the easiest and most popular due to its simplicity. Plant propagation can be carried out throughout the season, which is also an advantage of this method. Basically, young shoots are taken for cuttings, which are semi-lignified. Although summer is the best time for grafting, you can still propagate grafts in autumn and spring.
Cutting hydrangeas in spring
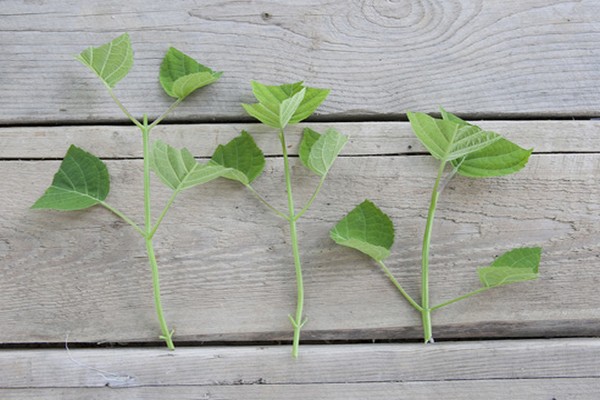
With spring cuttings, cuttings should be cut until the moment the juice begins to move. For cuttings at this time, those branches are cut that have become numb last year. In principle, spring cuttings will help you not only propagate your plant, but also carry out preventive pruning, while giving the bush the desired shape.
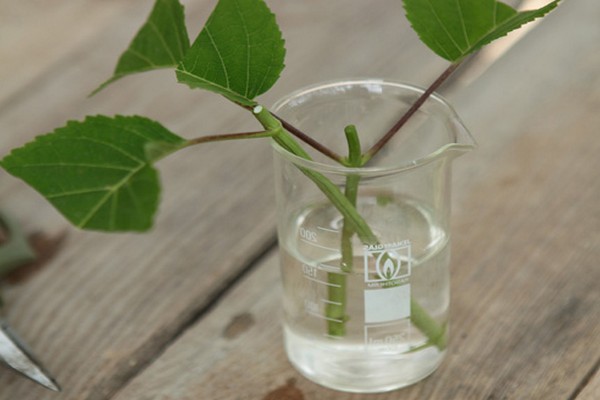
Cut cuttings no more than 15 cm long must be brought into the house and placed in the water. Also, in order for the cuttings to give roots faster, they can be treated with growth stimulants for the root system. In principle, such processing can and even should be carried out not only during spring cuttings, but also during summer and autumn. There are many different preparations for this that can be easily purchased at any gardening store. Most often, for the formation of roots, gardeners use drugs such as: "Epin", "Heteroauxin", "Kornevin", "Kornerost", but there are other drugs, they must be used strictly following the instructions.
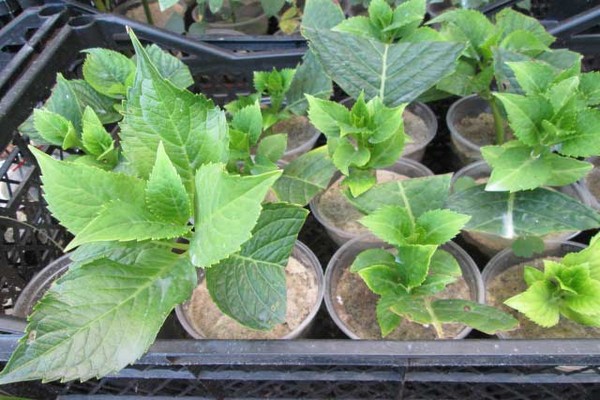
Alternative methods can also be used to stimulate root growth: dilute 1 teaspoon of honey in 1 liter of warm water and hold the cuttings in this solution for 12 hours. after you remove the cuttings from the solution, they will need to be rinsed under running water. After the cuttings are in the stimulator, they can be planted with a pre-prepared mixture. Basically, experienced gardeners recommend making it yourself from sand and peat in a 1: 2 ratio. But there can be many different options for making this mixture.
In the ground, cuttings should be planted half the length or slightly more. It will be possible to plant several cuttings in one container, but it is desirable that the distance between them is 10 cm. The container with the cuttings planted in it must be tightly closed to create the necessary microclimate, and put it in a warm place. every day the cuttings need to be aired and watered a little. The main thing is that the soil in the container is always slightly damp and does not dry out.The roots of the cuttings will appear in about 21 days, it is then that the shelter on the container will need to be removed. But the cuttings will be still young and weak, so it is best to keep them in the house, and plant them outdoors only next spring. But if you nevertheless decide to put them out on the street in the fall, then for the winter they will need to be well insulated so that they do not freeze.
Cutting hydrangea in summer
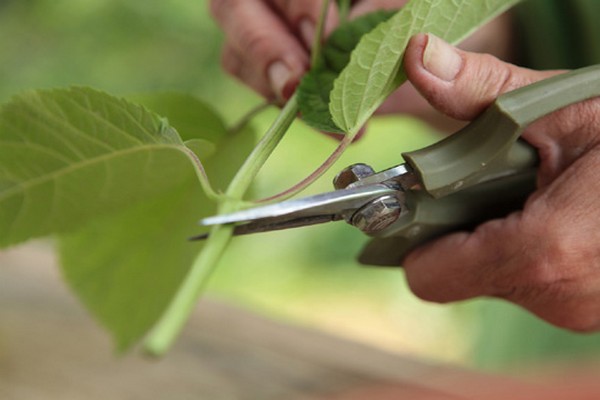
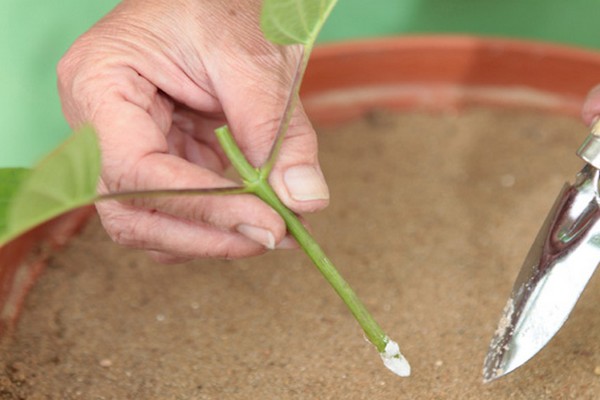
As for summer cuttings, this is the best time to propagate hydrangeas. At this time, it already has buds and even flowers that have already blossomed. At this time, you need to cut young, green cuttings on which there are leaves and several buds. But never forget that last year's shoots are not suitable for summer cuttings, they must be young and located at the bottom of the bush. Some gardeners say that it is even better not to cut them off, but to pinch them off. The length of these cuttings should also be no more than 15 cm. The leaves at the bottom of the cutting should be removed, and a few lateral leaves should be left on top. Summer cuttings must also first be treated with root growth stimulants. And so that no microorganisms get into the stalk, the upper cut, where the leaves were removed, is best burned with brilliant green or iodine. After treatment with a stimulant, the cuttings should also be rinsed under running water, and then planted in a prepared mixture of sand and peat in a ratio of 2: 3. If you do not have peat, then leaf humus will replace it well. The cuttings should be planted at an angle to a depth of about five cm, not deeper. After you have planted the cuttings in a container, they need to be covered with a layer of sand of no more than three cm.After all this, the cuttings should be tightly covered and put in a warm place. Remember to ventilate and moisturize them every day. The soil should not dry out, otherwise you will simply lose the plant.
Cutting hydrangeas in autumn
If you liked autumn for the propagation of hydrangeas, then only those shoots that are already stiff are suitable for cuttings. Mid-September is best suited for grafting this shrub. On those shoots that you decide to cut, there should be so-called nodes, and there should be at least three of them. You need to cut the stalk under the lowest node. All leaves from the cutting should be removed with sharp scissors. And on top, the stalk needs to be cut just above the third node. If there are leaves on top of the petiole, then you need to leave only half, and the rest should also be removed.
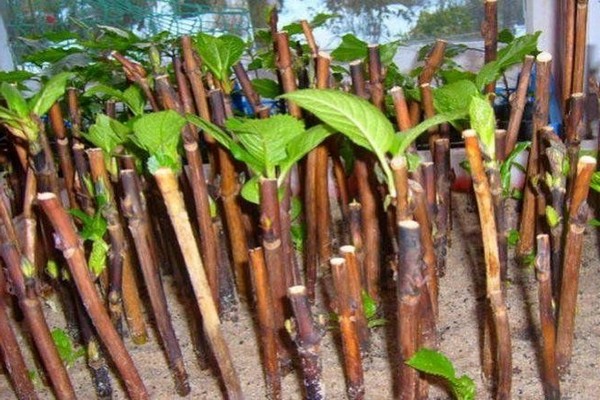
For autumn cuttings, clay pots are best suited for planting cuttings. Cuttings are treated with a stimulant before planting. At the bottom of the pot, it is imperative to pour a layer of drainage and only after that the mixture for planting is poured. Basically, the same soil mixture of sand and peat in a 1: 2 ratio is used, but others can be used, there are many options. It is also necessary to plant cuttings under a slope and to a depth of no more than 5 cm.After planting, the soil must be watered and covered tightly. The container should be warm. Never let the soil dry out and ventilate your cuttings every day. After about a month, the cuttings can be opened, since during this time they will already have time to take root. If for some reason you do not want to initially cover your cuttings, then you need to independently maintain the climate and humidity they need. To do this, the container must be in a warm place with a temperature of at least 20 degrees and you will have to spray your plants from a spray bottle several times a day so that they have enough moisture. You can judge whether a plant has taken root by how the buds of the cuttings swell and by the young leaves that begin to appear after rooting. Remember that you can remove the shelter from the cuttings only when all these signs appear. If they are not there, it means that the plant has not yet taken root.
After you have removed the shelter, all that remains for you is just to regularly water the plants, basically it is enough to do this a couple of times a week, and sometimes spray the leaves from a spray bottle. This should be done until you plant the plant in open ground. While the hydrangea stalk is growing in the container, you need to carefully monitor the temperature, it should always be stable, because even a small drop can harm the plant, because young seedlings themselves are still very weak.
In the spring hydrangea it will already be possible to plant on the site, because it has already taken root. The place where it will grow in the future must be prepared in advance. But before planting a hydrangea seedling, among other things, like any other plant, it must be hardened in advance for two weeks. This is done gradually. The plant is taken out every day, gradually increasing its residence time there. After two weeks of such procedures, the plant will be completely ready for transplanting into open ground.
Panicle hydrangea is an amazingly beautiful plant that can fall in love with you at first sight. Although many people believe that the more beautiful the plant, the more finicky it is. In the case of paniculate hydrangea, this is absolutely not the case. She in itself, in principle, is not whimsical, and is very simple in its reproduction. Therefore, this gorgeous shrub, with very simple care, will always decorate your site with its majestic size and gorgeous flowering.

